 Save
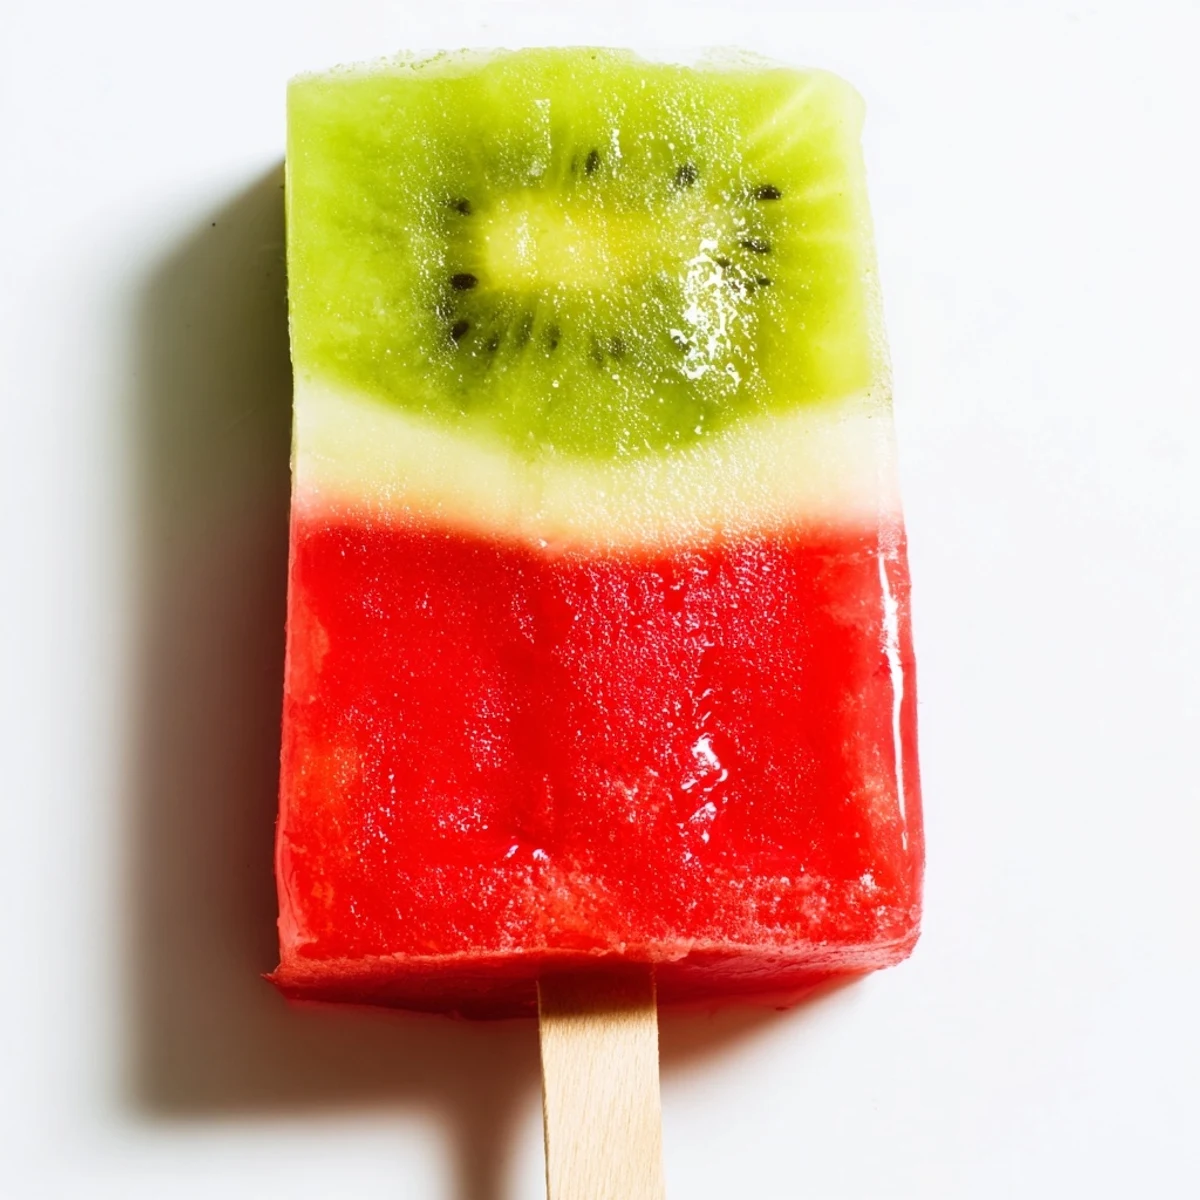
Save Create stunning two-layer frozen treats combining the sweetness of fresh watermelon with the bright tang of kiwi. These colorful popsicles are naturally sweetened, incredibly refreshing, and make a perfect cooling dessert on hot summer days.
The preparation is simple—blend each fruit layer separately with a splash of lime juice, then freeze in stages to achieve those beautiful distinct layers. The result is a visually striking treat that tastes as good as it looks.
Customize these frozen delights by adding fresh mint leaves, adjusting sweetness to your preference, or incorporating diced fruit for extra texture. They're naturally vegan, gluten-free, and dairy-free, making them suitable for various dietary needs while remaining a crowd-pleasing option for both kids and adults.
The thermometer read 104 degrees the afternoon my niece and I decided we had had enough of standing in front of the fan pretending it helped. We raided the fruit bowl and freezer and came out with watermelon and kiwi, two things that had no business being together except that they were cold and colorful and we were desperate. Four hours later we were sitting on the back porch steps with green and red popsicles dripping down our wrists, not caring one bit. That messy afternoon turned into the most requested summer treat in my house.
My friend Maria brought her twin boys over last July and they stood on step stools at my counter arguing over who got to pour the green layer. The smaller one knocked over a mold and we all stared at the puddle of kiwi purée spreading across the cutting board like it was a small tragedy. We refilled it, stuck them in the freezer, and the boys forgot about the spill the moment they tasted the results. Now every time Maria texts me it includes a photo of her kids making these pops in their own kitchen.
Ingredients
- 3 cups seedless watermelon, cubed: The riper and redder the better here because watermelon is the bulk of the sweetness and a pale melon will give you a washed out color that looks gray once frozen.
- 2 tablespoons fresh lime juice: Bottled juice works in a pinch but fresh squeezed brightness is what makes these taste like a real paleta instead of a bland ice cube.
- 1 to 2 tablespoons agave syrup or honey (optional): Only needed if your watermelon is not particularly sweet, and honestly taste the purée before you add anything because oversweetening masks the fruit.
- 3 ripe kiwis, peeled and sliced: Choose kiwis that yield slightly when pressed because firm ones will be too tart and will not blend into a smooth purée.
- 1 tablespoon fresh lime juice: A second smaller measure for the kiwi layer to keep the green color vibrant and balance the natural tartness of the fruit.
- 1 tablespoon agave syrup or honey (optional): Kiwi brings its own tangy sweetness so start without this and only add if the purée tastes too sharp.
Instructions
- Blend the watermelon layer:
- Toss the cubed watermelon, lime juice, and sweetener if using into a blender and run it until you get a silky pink liquid with no chunks. Pour yourself a small taste to check the balance before you commit it to the molds.
- Fill the molds two thirds full:
- Divide the watermelon purée among your popsicle molds, stopping about a third of the way from the top so there is room for the kiwi layer later. Give each mold a gentle tap on the counter to knock out any stubborn air bubbles hiding at the bottom.
- Freeze until partially set:
- Slide the molds into the freezer for roughly one hour, just long enough that the surface feels firm when you press it lightly with a fingertip but is not rock solid. This step is the secret to getting clean distinct layers instead of a muddy swirl.
- Blend the kiwi layer:
- While the watermelon sets, blend the peeled kiwi slices with lime juice and sweetener until you have a bright green purée that smells like a tropical garden. Taste it and adjust if needed because this layer carries a lot of the personality of the finished pop.
- Add the green layer and sticks:
- Pour the kiwi purée over the partially frozen watermelon layer in each mold, filling them almost to the brim, then insert the popsicle sticks straight into the center. The firmer bottom layer will hold the sticks upright so they do not drift sideways.
- Freeze until completely solid:
- Return the filled molds to the freezer for at least three hours and preferably overnight so every layer is firm enough to hold its shape when unmolded. Patience here is the only hard part of this recipe.
- Release and enjoy:
- Run the outside of each mold under warm water for a few seconds, then grip the stick and pull gently with a slight twisting motion until the pop slides free. Serve immediately because these beautiful layers melt faster than you expect.
 Save
Save The quietest my kitchen has ever been with children in it was the moment four sticky handed kids each took their first bite and realized their popsicles were two flavors in one. Nobody talked for a full two minutes. That is the highest compliment a summer recipe can receive.
Fun Ways to Switch Things Up
Toss a handful of torn mint leaves into the watermelon purée before blending if you want an extra dimension that makes these taste almost like a cocktail. Thin kiwi slices pressed against the inside walls of each mold before you pour create a gorgeous starburst pattern visible through the outer layer. You can also stir finely diced extra fruit into either purée for pops that have little chewy surprises tucked inside every bite.
Tools That Make This Easier
A standard blender handles both purées without trouble but an immersion blender works too if you prefer less washing up. Silicone popsicle molds release much more easily than rigid plastic ones, which is worth remembering if you plan to make these regularly. Keep a tall glass of warm water next to the freezer for quick unmolding without leaving the kitchen sink running.
Storing and Serving
These pops keep well in the freezer for up to two weeks if you wrap each one individually in parchment paper and store them in an airtight container to prevent ice crystals from forming. Lay them flat so they do not stick together or lose their layered shape during storage.
- Let frozen pops sit at room temperature for two minutes before unmolding if they have been in the freezer overnight.
- Serve them over a bowl of extra fresh fruit for a simple but impressive summer dessert plate.
- Remember that homemade fruit pops melt much faster than store bought ones so have your eaters ready and waiting.
 Save
Save Keep a batch of these in your freezer all summer long and you will never be caught without something cold and joyful to hand to whoever shows up at your door. Sometimes the simplest recipes are the ones people remember most.
Recipe FAQs
- → How long do these frozen pops need to set?
-
The watermelon layer needs about 1 hour to become slightly firm before adding the kiwi layer. After both layers are in the molds, freeze for at least 3 additional hours until completely solid. Total freezing time is approximately 4 hours.
- → Can I use frozen fruit instead of fresh?
-
Fresh fruit works best for achieving smooth purées and vibrant color. Frozen fruit can be used if fresh isn't available, though it may result in a slightly icy texture. Thaw frozen fruit completely before blending and drain excess liquid.
- → What sweetener alternatives work well?
-
Agave syrup, honey, maple syrup, or simple syrup all work beautifully. For a naturally sweet version without added sweeteners, choose ripe, in-season watermelon and kiwi—their natural sugars provide plenty of sweetness.
- → How should I store these frozen treats?
-
Once fully frozen, remove pops from molds and wrap individually in parchment paper or plastic wrap. Store in an airtight container in the freezer for up to 2 months. For best texture and flavor, enjoy within 1 month.
- → Do I need special equipment to make these?
-
A standard blender and popsicle molds are essential. If you don't have popsicle molds, small paper cups work as a substitute—just add wooden sticks after 1 hour of freezing when the mixture is firm enough to hold them upright.
- → Can I make these with different fruit combinations?
-
Absolutely! Try strawberry-mango, peach-raspberry, or pineapple-coconut layers. The key is choosing fruits with contrasting colors that blend smoothly. Adjust sweetener based on fruit sweetness and taste preference.