 Save
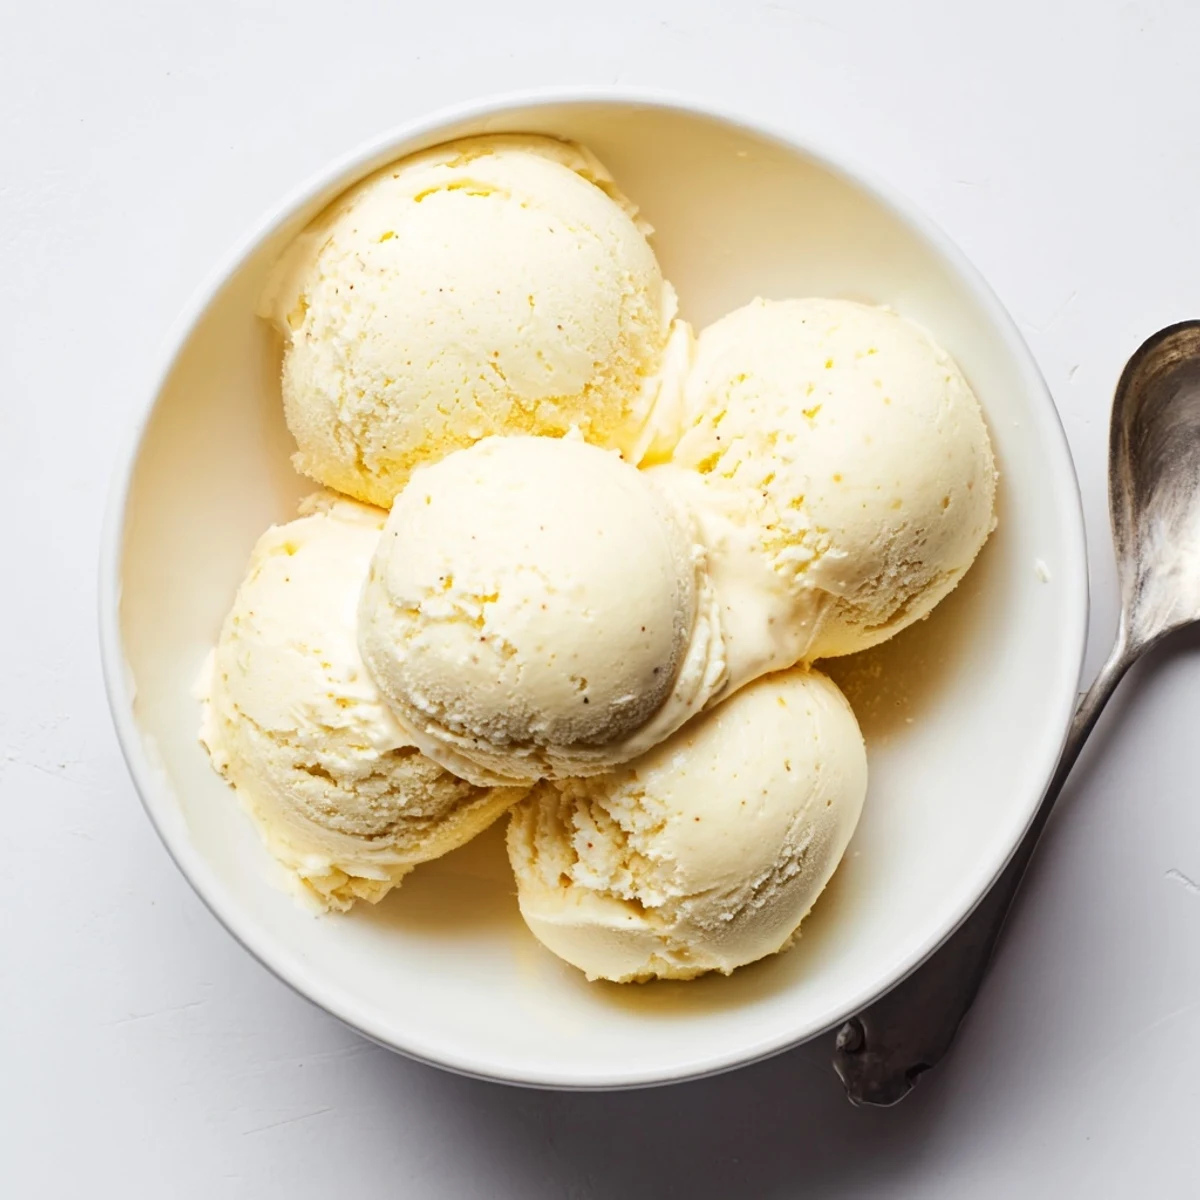
Save Create a luxurious frozen dessert using simple ingredients like heavy cream, whole milk, and pure vanilla extract. This classic treat requires tempering egg yolks into a warm custard base, then churning until perfectly smooth and creamy.
The process involves heating cream and milk until dissolved, carefully combining with whisked yolks, and cooking to a thick custard consistency. After straining and chilling for at least four hours, the mixture churns into a silky delight.
Customize with chocolate chips, fresh fruit, or swirls of caramel and fudge. The dairy-free version works beautifully with coconut milk. Store in freezer-safe containers for instant enjoyment whenever cravings strike.
My grandmother never measured anything when she made ice cream, which both fascinated and frustrated me as a child watching from her kitchen stool. The hum of her ancient hand cranked machine was the sound of summer itself, drowning out cicadas and screen door slams alike. I still think about the way she tested custard doneness by running one finger down the back of a spoon and nodding once, satisfied, before anyone else could see what she was checking. That single gesture taught me more about cooking than any cookbook ever has.
I made a batch of this during a power outage in August, churning by hand with a bag of ice and rock salt on the back porch while my neighbors complained about the heat. Three of them ended up on my front steps with bowls before the lights came back on.
Ingredients
- Heavy cream (2 cups): The fat content here is everything, so do not reach for half and half or light cream if you want that luxurious mouthfeel.
- Whole milk (1 cup): Balances the richness of the cream without making the final result feel heavy or cloying.
- Granulated sugar (3/4 cup): Sugar lowers the freezing point, which means your ice cream stays scoopable instead of turning into a brick.
- Salt (pinch): Just enough to make the vanilla sing, because sweetness without depth is just sweet.
- Pure vanilla extract (1 tablespoon): Splurge on the real stuff here, imitation extract leaves a flat, chemical aftertaste that ruins all your careful custard work.
- Large egg yolks (5): These are your thickening agents and the reason this recipe produces ice cream, not ice milk.
Instructions
- Build the base:
- Combine cream, milk, sugar, and salt in a saucepan over medium heat, stirring until the sugar dissolves completely and the mixture is steaming but not bubbling.
- Prep the yolks:
- Whisk the egg yolks lightly in a separate bowl just until broken up and slightly pale.
- Temper carefully:
- Drizzle about one cup of the hot cream into the yolks in a thin stream while whisking constantly, which prevents scrambled egg threads from ruining your evening.
- Cook the custard:
- Pour the warmed yolk mixture back into the saucepan and cook over medium low heat, stirring without stopping, until the custard thickens enough to coat the back of a spoon and leaves a clean trail when you run your finger through it.
- Add the vanilla:
- Take the pan off the heat and stir in the vanilla extract, letting the warmth bloom the flavor without cooking it off.
- Strain and chill:
- Push the custard through a fine mesh sieve into a clean bowl to catch any stray lumps, then cool it to room temperature before covering and refrigerating for at least four hours or overnight if you have the patience.
- Churn it:
- Pour the thoroughly chilled custard into your ice cream maker and churn according to its instructions until it looks like soft serve and clings to the dasher.
- Finish in the freezer:
- Transfer the churned ice cream to a freezer safe container, press plastic wrap directly against the surface to prevent ice crystals, and freeze for at least two hours before scooping.
 Save
Save The first time I served this at a dinner party, a friend sat in silence after his first bite and then quietly asked if he could take the remaining container home. I let him, and I have never regretted a decision more because I had none left for breakfast the next morning.
Getting To Know Your Ice Cream Maker
Every machine churns differently, and learning yours is half the fun. Some models finish in twenty minutes while others need closer to forty, so watch the texture rather than the clock.
Mix In Moments
Fold in chocolate chips, toasted nuts, or a ribbon of caramel after churning but before the final freeze, because the machine will just pulverize anything you add too early.
Scooping And Storing Like A Pro
Homemade ice cream freezes harder than commercial brands because it lacks stabilizers and emulsifiers, so let it sit at room temperature for five to ten minutes before scooping.
- Store it in the back of the freezer where the temperature is most consistent, not in the door.
- Press a layer of parchment or plastic wrap directly on the surface before sealing the lid to minimize ice crystals.
- Consume within two weeks for the best texture and flavor, because freshness is the one advantage you have over every pint in the grocery aisle.
 Save
Save There is something quietly magical about transforming humble cream and eggs into something that makes people close their eyes when they take the first bite. Keep a batch in your freezer all summer long and you will never lack for friends dropping by unannounced.
Recipe FAQs
- → How long does the custard need to chill before churning?
-
The custard must refrigerate for at least 4 hours until completely cold. This allows flavors to develop and ensures proper churning texture. Overnight chilling works well for convenience.
- → What temperature should the custard reach when cooking?
-
Cook until the mixture reaches 170-175°F (76-80°C) and thickens enough to coat the back of a spoon. Avoid boiling, which can curdle the eggs and ruin the silky texture.
- → Can I make this without an ice cream maker?
-
Yes. Pour the chilled custard into a shallow container and freeze. Every 30 minutes, stir vigorously with a fork to break up ice crystals. Repeat until frozen but still creamy, about 3-4 hours.
- → How long does homemade vanilla last in the freezer?
-
Properly stored in an airtight freezer-safe container, it maintains best quality for 1-2 months. For optimal texture and flavor, enjoy within the first few weeks.
- → What mix-ins work best with this vanilla base?
-
Fold in chocolate chips, crushed cookies, or toasted nuts during the last minutes of churning. Swirl ribbons of caramel, fudge, or fruit preserves before freezing. Fresh berries add bright contrast.
- → Why is straining the custard important?
-
Straining through a fine mesh sieve removes any cooked egg bits and ensures a perfectly smooth texture. This step takes seconds but makes the difference between silky and grainy results.