 Save
Save Create bakery-worthy croissant bread at home with this impressive technique. The process involves creating multiple butter layers through a series of rolling and folding turns, resulting in that signature flaky texture we all love in traditional croissants.
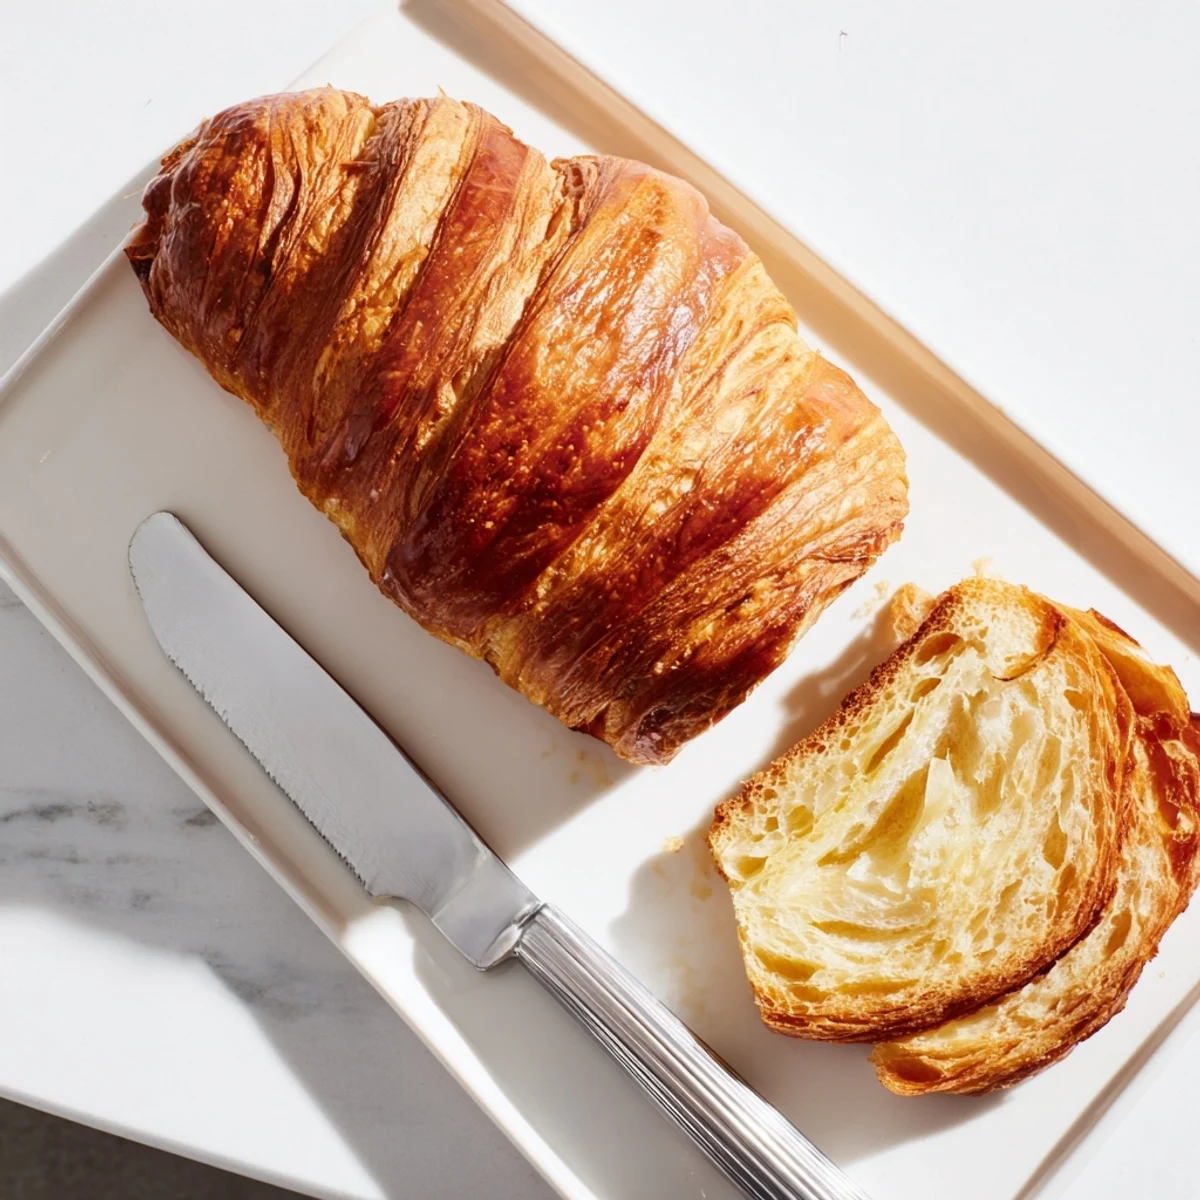
The dough requires patience through resting periods, but the reward is a golden loaf that shatters beautifully when sliced. The buttery layers puff up during baking, creating an irresistible combination of tender crumb and crispy exterior.
Serve it warm with honey or jam, toast slices for extra crunch, or enjoy it plain to appreciate the pure buttery flavor. This French-style loaf elevates any breakfast spread and will impress family and friends with its professional appearance and taste.
The morning my kitchen smelled like a Parisian bakery still feels like a small miracle. I had attempted laminated dough before with disastrous results, but this bread changed everything. My roommate walked in, eyes half closed, and asked if I had secretly become a professional pastry chef overnight. That first slice, still warm with butter melting into every crevice, silenced any doubt about whether the hours of folding and chilling were worth it.
My sister visited during my third attempt at this recipe, armed with nothing but skepticism and an empty stomach. She watched me roll, fold, and chill with the patience of someone who had never witnessed pastry dough rebellion. When we finally sliced into that golden loaf an entire day later, she immediately demanded I teach her the method. We ate nearly half the loaf standing at the counter, abandoning any pretense of waiting for a proper breakfast table.
Ingredients
- 3 cups all purpose flour: This forms your foundation and bread flour actually works beautifully here for extra structure
- 3 tbsp granulated sugar: Just enough to balance the salt and help browning without making this sweet bread
- 2 tsp instant yeast: Instant yeast cuts down a step and gives reliable rises every single time
- 1 tsp salt: Essential for flavor and it actually strengthens your gluten structure
- 1 cup whole milk lukewarm: Whole milk creates tender dough and warmth activates your yeast
- 4 tbsp unsalted butter melted: This goes into the dough itself while the butter block creates those famous layers
- 1 large egg: Adds richness and helps create that gorgeous golden color we are after
- 1 cup cold unsalted butter: The most critical ingredient, keep it icy cold and cut it precisely before starting
- 1 large egg: Combined with milk for the wash that gives your loaf its professional bakery shine
- 1 tbsp milk: Thins your egg wash just enough for even brushing
Instructions
- Mix the initial dough:
- Combine flour, sugar, salt, and yeast in your bowl, keeping yeast away from salt. Pour in lukewarm milk, melted butter, and egg, then stir until sticky dough forms.
- Knead until smooth:
- Knead for 7 to 10 minutes until dough feels smooth and elastic. Cover and let rise for 1 hour until doubled.
- Chill the dough:
- Punch down dough, shape into rectangle, and refrigerate for 30 minutes. Cold dough handles better during lamination.
- First fold and turn:
- Roll dough into 12 by 16 inch rectangle. Layer cold butter over two thirds, fold into thirds, wrap, and chill for 30 minutes.
- Complete the turns:
- Repeat rolling, folding into thirds, and chilling two more times for three total turns. Keep everything cold.
- Shape your loaf:
- Roll dough to 8 by 16 inches after final chill. Roll tightly from short end into loaf shape.
- Final rise:
- Place seam side down in greased loaf pan. Cover and let rise until doubled, about 1 hour.
- Bake to perfection:
- Preheat oven to 375F. Brush with egg wash. Bake 35 to 40 minutes until golden and hollow sounding.
 Save
Save This bread has become my secret weapon for weekend guests who think I have endless energy for elaborate breakfast preparations. Little do they know that most of the work happens hours or even a day ahead, leaving me with nothing to do but pop it in the oven and look mysteriously accomplished. The look on someone face when they tear into that first warm, flaky slice is absolutely worth every minute of folding.
Getting The Temperature Right
Your butter block should be cold but pliable, leaving a slight fingerprint when pressed but not melting. Room temperature butter will disappear into your dough layers instead of creating distinct flaky sheets. I keep my butter in the fridge until the exact moment I need it, and I work quickly once it is on the dough.
Timing Your Turns
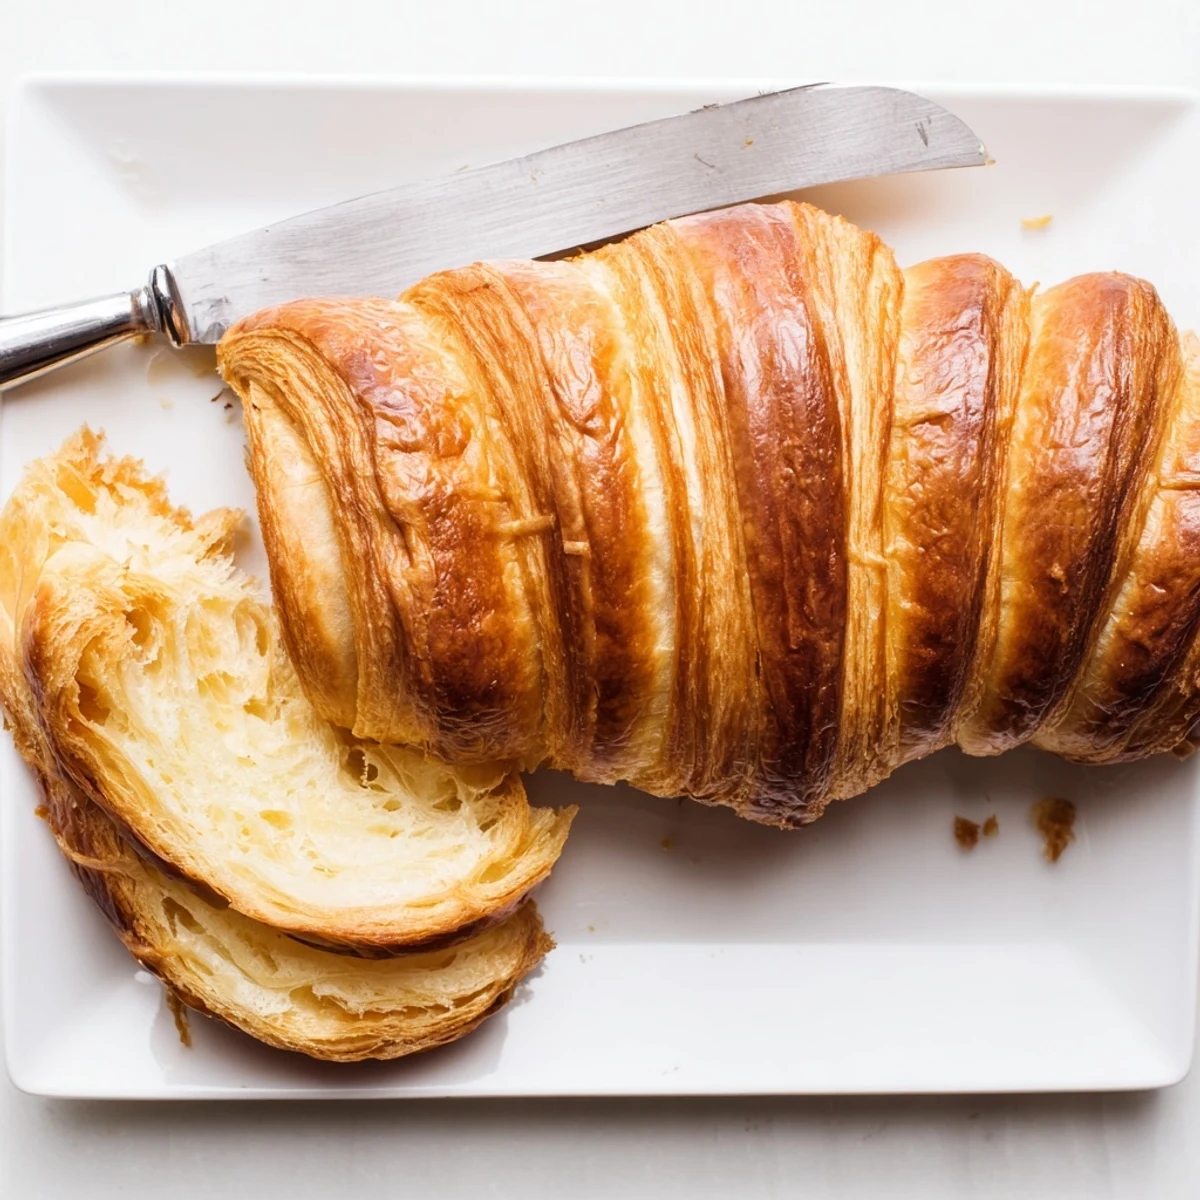
Each fold and turn creates layers, but those chilling periods are what actually make them separate during baking. The dough needs at least 30 minutes in the refrigerator between turns so the gluten can relax. This also firms the butter, which is absolutely critical for getting those dramatic honeycomb layers inside your finished loaf.
When To Slice
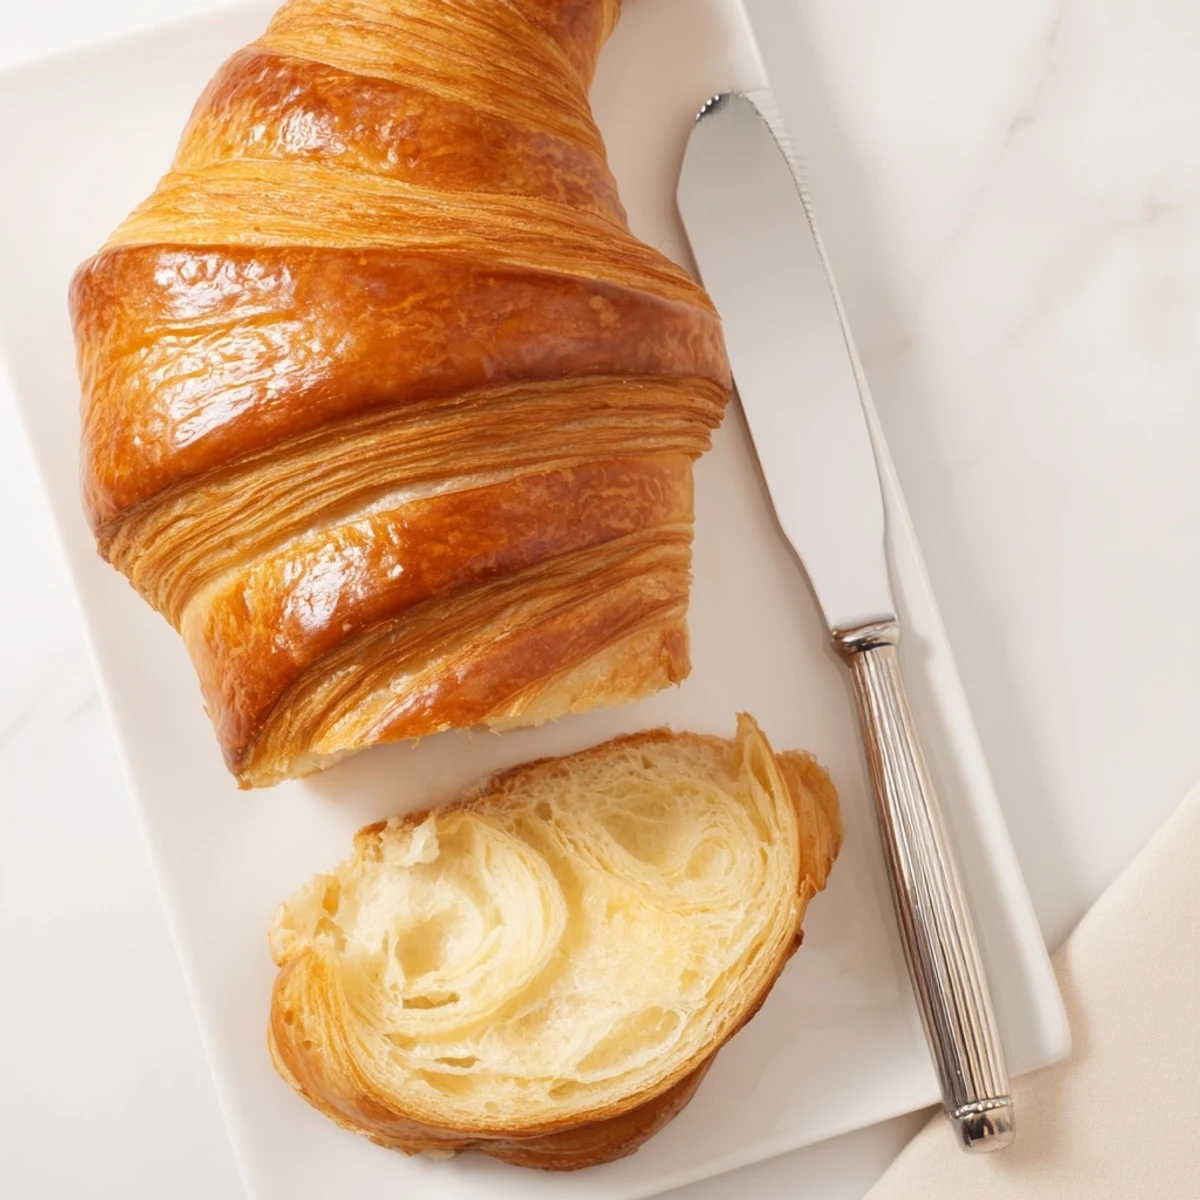
Wait until the bread has cooled completely, at least 2 hours, before slicing into it. Cutting into warm bread releases steam and can make the interior gummy rather than flaky. I know this is difficult when your whole house smells like buttery perfection, but patience rewards you with the best texture.
- Use a serrated knife with gentle sawing motions
- Toast leftover slices to refresh the texture
- Store wrapped at room temperature for up to 2 days
 Save
Save Every time I pull this golden, towering loaf from the oven, I remember why I fell in love with baking in the first place. Some recipes are about feeding people, but this one is about giving them something truly special.
Recipe FAQs
- → Why does croissant bread need multiple rolling and folding turns?
-
The rolling and folding process creates alternating layers of dough and butter, which is essential for achieving those signature flaky layers. During baking, the water in the butter turns to steam, causing the layers to separate and rise, resulting in that delightful texture we associate with quality croissants.
- → Can I skip the chilling steps between turns?
-
Chilling between turns is crucial for success. The butter must stay cold to maintain distinct layers from the dough. If the butter warms up, it will blend into the dough rather than creating separate layers, resulting in a denser bread rather than flaky, laminated perfection.
- → How do I know when the bread is fully baked?
-
The bread is done when it reaches a deep golden brown color and sounds hollow when tapped on the bottom. The internal temperature should reach around 200°F (93°C). If the top browns too quickly, tent with foil to prevent burning while the center finishes baking.
- → Can I make this dough ahead of time?
-
You can prepare the dough through the laminating process and refrigerate it overnight before the final shaping and baking. This actually enhances flavor development. Just let it come to room temperature briefly before rolling out for the final shape.
- → Why did my layers merge together instead of staying distinct?
-
This usually happens when the butter gets too warm during rolling. Work quickly, keep your work surface cool, and return the dough to the refrigerator if you notice butter softening or breaking through the dough. Maintaining cold butter throughout the process is the key to perfect layers.
- → Can I add fillings like cinnamon sugar or chocolate?
-
Absolutely! Before the final rolling into a loaf shape, sprinkle the dough with cinnamon sugar, or place chocolate chunks along the surface. The spiral shape will create beautiful swirls of flavor throughout the loaf while maintaining the flaky texture.