 Save
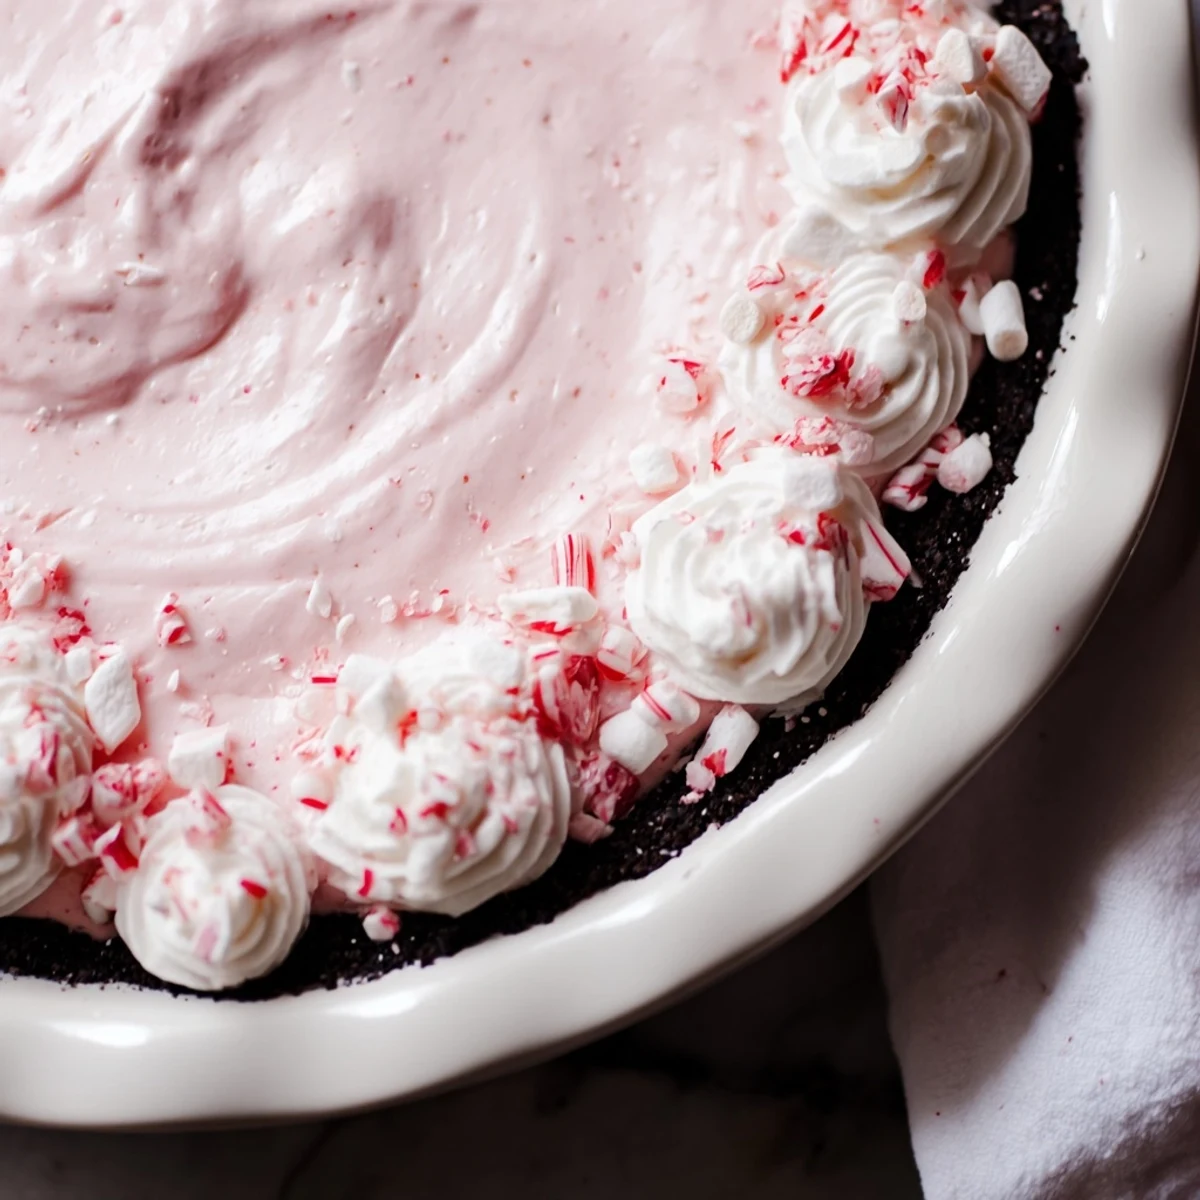
Save This no-bake candy cane pie layers a crisp chocolate cookie crust with a light, peppermint-scented cream cheese filling. Whipped cream is folded into softened cream cheese, then mini marshmallows and crushed candy canes are gently incorporated. Spoon into the chilled crust, refrigerate until firmly set, and top with extra whipped cream and candy cane pieces for contrast and crunch.
The first time I made Candy Cane Pie, I accidentally knocked over a box of mini marshmallows, sending a sweet flurry across my countertop. All that laughing actually set the tone for assembling this cheerful dessert—a reminder not to take holiday baking too seriously. The cold rush of peppermint and the sight of pink swirls in the filling still spark a little bit of excitement. It’s the kind of recipe that turns a chilled winter evening into something extra special.
I remember serving this to friends who dropped by for a last-minute holiday movie night; the room smelled faintly of peppermint, and the laughter over their second helpings was the best review. Even my friend Caitlyn, who’s usually on team chocolate, kept sneaking forkfuls while pretending she just needed another drink. The sound of spoons clinking against the glass pie dish really let me know I nailed it. Now, it’s on my must-make list for every festive season.
Ingredients
- Chocolate cookie crumbs (1 1/2 cups): Using finely crushed Oreos makes the base rich and intense—they hold together best when pressed in while the butter’s still warm.
- Unsalted butter (1/4 cup, melted): Melted butter glues the crumbs together; don’t overdo it or it’ll get greasy.
- Heavy whipping cream (1 1/2 cups, cold): Whip this fresh and cold for the fluffiest texture; don’t rush the stiff peaks.
- Cream cheese (230 g, softened): Softening your cream cheese fully means a lump-free filling every time.
- Powdered sugar (1 cup): This melts smoothly without grittiness; sifting helps if you want extra creamy results.
- Vanilla extract (1/2 teaspoon): A drop of vanilla balances the mint beautifully.
- Peppermint extract (1 teaspoon): Go easy—this is the muscle behind the candy cane magic, and a little goes a long way.
- Mini marshmallows (1 1/2 cups): These add cloudlike texture and a nostalgic chew.
- Crushed candy canes (1/3 cup, plus extra for topping): Fold these in last for that burst of pink color and crunch, saving the rest for sparkly garnish.
- Red food coloring (optional): A few drops give it festive flair, but it’s still delicious without.
- Whipped cream (1 cup, for topping): Adding generous swoops on top is never a bad call.
- Additional crushed candy canes or peppermint candies: I always crush extra by putting them in a bag and giving them a gentle bash with a rolling pin.
Instructions
- Make the crust:
- Mix the chocolate cookie crumbs and melted butter in a medium bowl until the texture feels like damp sand, then press snugly into a 9-inch pie dish. Chill it in the refrigerator while you whip up the filling—the colder the better for slicing later.
- Whip the cream:
- Pour the cold heavy cream into a large bowl and whip until you see sturdy, fluffy peaks that stand tall without drooping.
- Blend the base:
- In a separate bowl, beat the softened cream cheese, powdered sugar, vanilla, and peppermint extract until the mixture is silky and smooth.
- Fold and swirl:
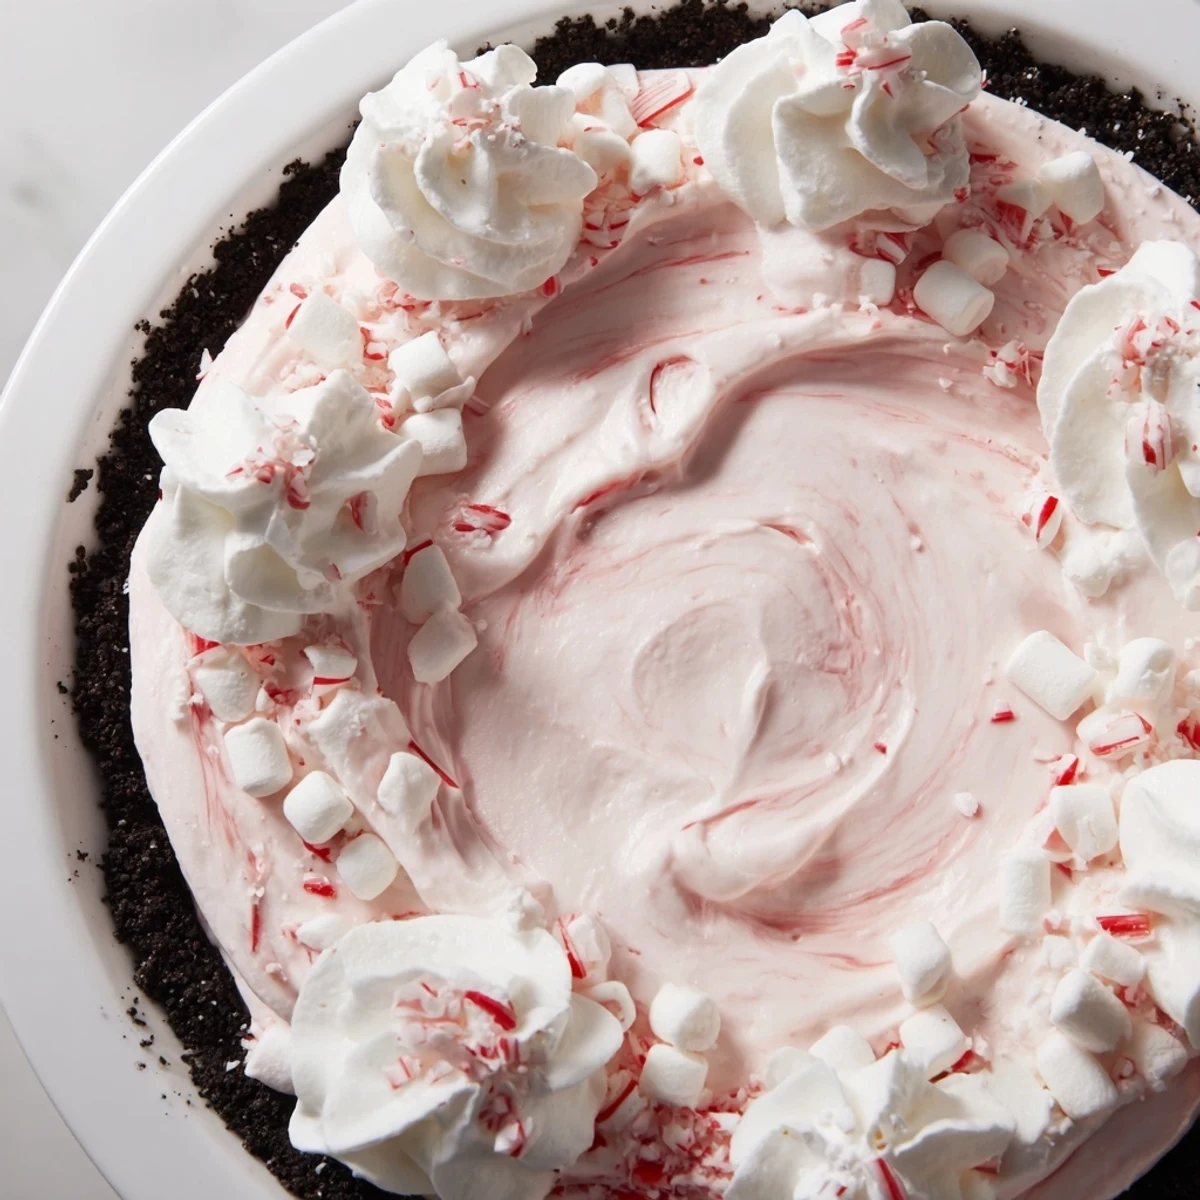
- Gently fold the whipped cream, mini marshmallows, and crushed candy canes into the cream cheese base, trying not to deflate the mix. If you want a pink hue, swirl in a few drops of red food coloring for an easy festive look.
- Assemble and chill:
- Spoon the fluffy filling into your prepared crust, then smooth the top with a spatula. Cover tightly, and let the pie chill for at least 4 hours or overnight until it’s set and easy to slice.
- Decorate and serve:
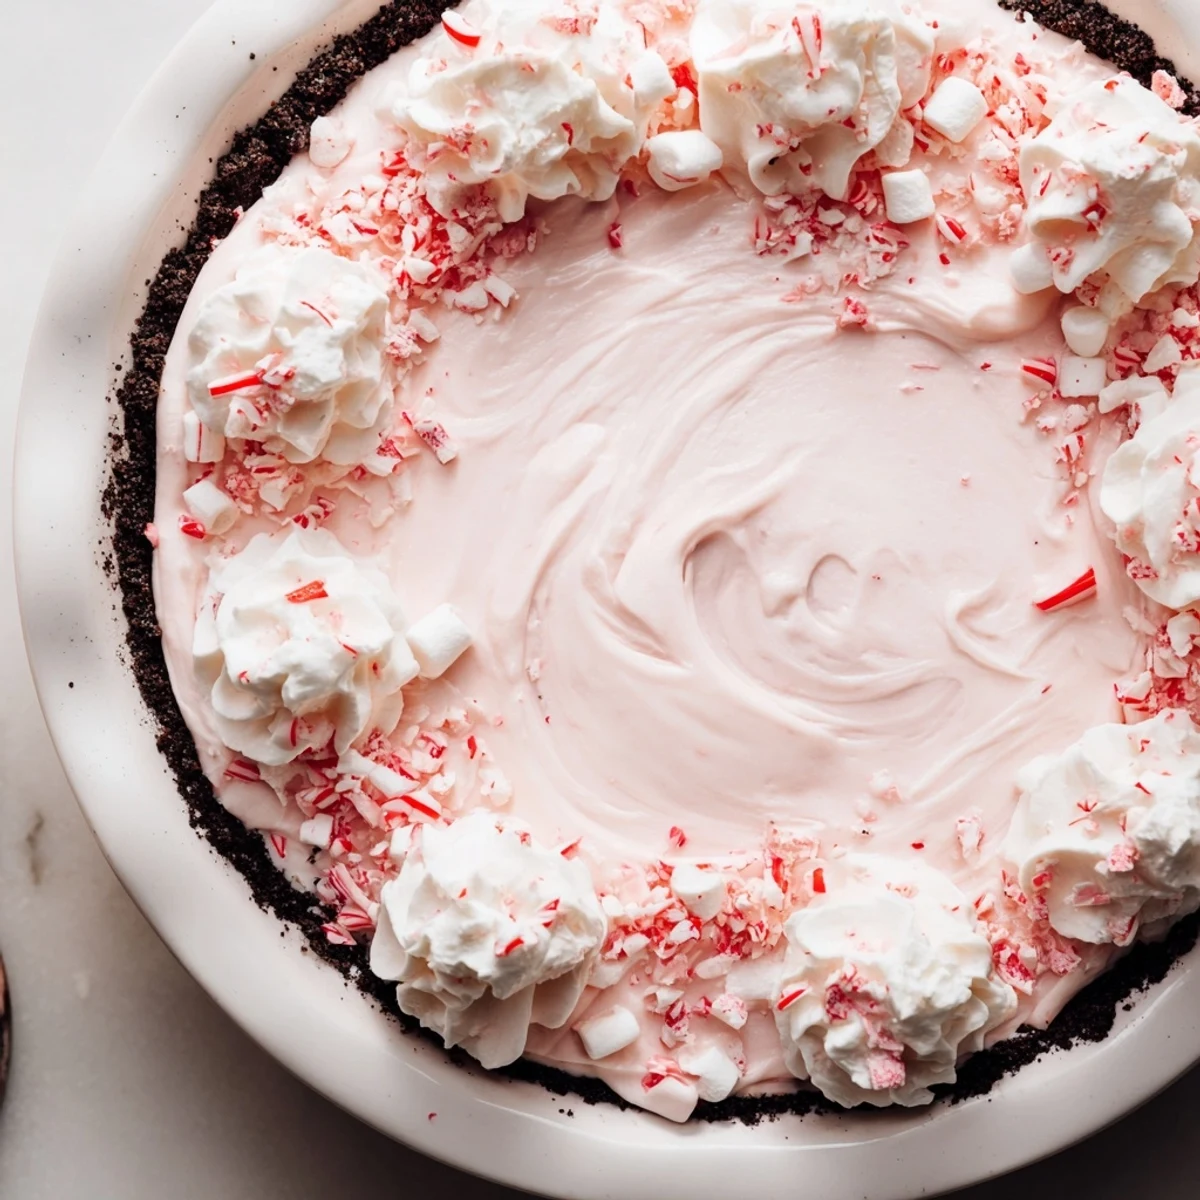
- Right before serving, top generously with whipped cream and an extra sprinkle of crushed candy canes for crunch and sparkle. Slice with a warm, dry knife for the cleanest edges—enjoy every frosty bite.
 Save
Save The time my cousin’s kids decorated their slices with far too many candy canes, we ended up with a pie that crunched louder than a snow walk. Their faces, sticky with whipped cream and giggles, are etched in my memory. Sometimes the best moments come from forgetting about perfect presentation. This pie has a way of inviting those little joys.
The Secret to a Crisp Cookie Crust
Pressing the crumb mixture down firmly with the flat bottom of a glass is my go-to trick. It helps prevent crumbles when you cut and makes the crust almost as satisfying as the filling. If the crumbs seem too dry, add just a touch more melted butter—a teaspoon at a time until it holds together. Sometimes, I even chill the crust for a full hour for extra sturdiness.
Swirling in That Festive Color
I used to worry the food coloring would streak, but folding gently with a spatula creates dreamy pink ribbons through the filling. It’s a small touch, but those swirls look so pretty on the dessert table. If you go for natural coloring, a bit of beet juice works too (though the flavor will change slightly). The important thing is to have fun making it look playful and bright.
Last-Minute Magic: Toppings, Tools, and Tweaks
Don’t add the final sprinkle of candy canes until you’re ready to serve—it keeps them crunchy and sparkly. If you’re making this ahead, slice with a warm knife run under hot water for those perfect, clean wedges. Swapping the marshmallows for mini chocolate chips gives a mint-chocolate vibe my nephew swears by.
- Leftover pie freezes like a dream; just let it thaw for 10 minutes before slicing.
- If you use store-bought whipped topping, the result is still wonderfully creamy.
- Taste the filling as you go and adjust the peppermint—your taste buds matter most.
 Save
Save Candy Cane Pie always sparks grins and, sometimes, a little kitchen chaos. I hope it brings just as much cheer to your table as it has to mine.
Recipe FAQs
- → Can I make the crust gluten-free?
-
Yes. Substitute gluten-free chocolate sandwich cookies or use finely ground gluten-free chocolate biscuits mixed with melted butter. Press firmly into the pie dish and chill as usual.
- → How do I prevent the marshmallows from getting soggy?
-
Fold marshmallows in gently at the end to minimize breakage and moisture exposure. Garnish with extra marshmallow or candy cane pieces just before serving to retain texture.
- → Can this be frozen?
-
Freezing can alter texture; the filling may become slightly grainy. If freezing, wrap tightly and thaw overnight in the refrigerator before serving, then refresh the topping when ready to eat.
- → How strong is the peppermint flavor?
-
Peppermint extract is concentrated. Start with a small amount, taste the filling, and adjust to preference—especially if using flavored candies that add extra mint notes.
- → How long should it chill to set properly?
-
Chill at least four hours, preferably overnight. Longer chilling helps the filling firm and the flavors meld, making cleaner slices when served.
- → Any tips for a pretty presentation?
-
Pipe a ring of whipped cream around the edge and sprinkle extra crushed candy canes over the center. Add whole mini marshmallows or peppermint candies for height and contrast.