 Save
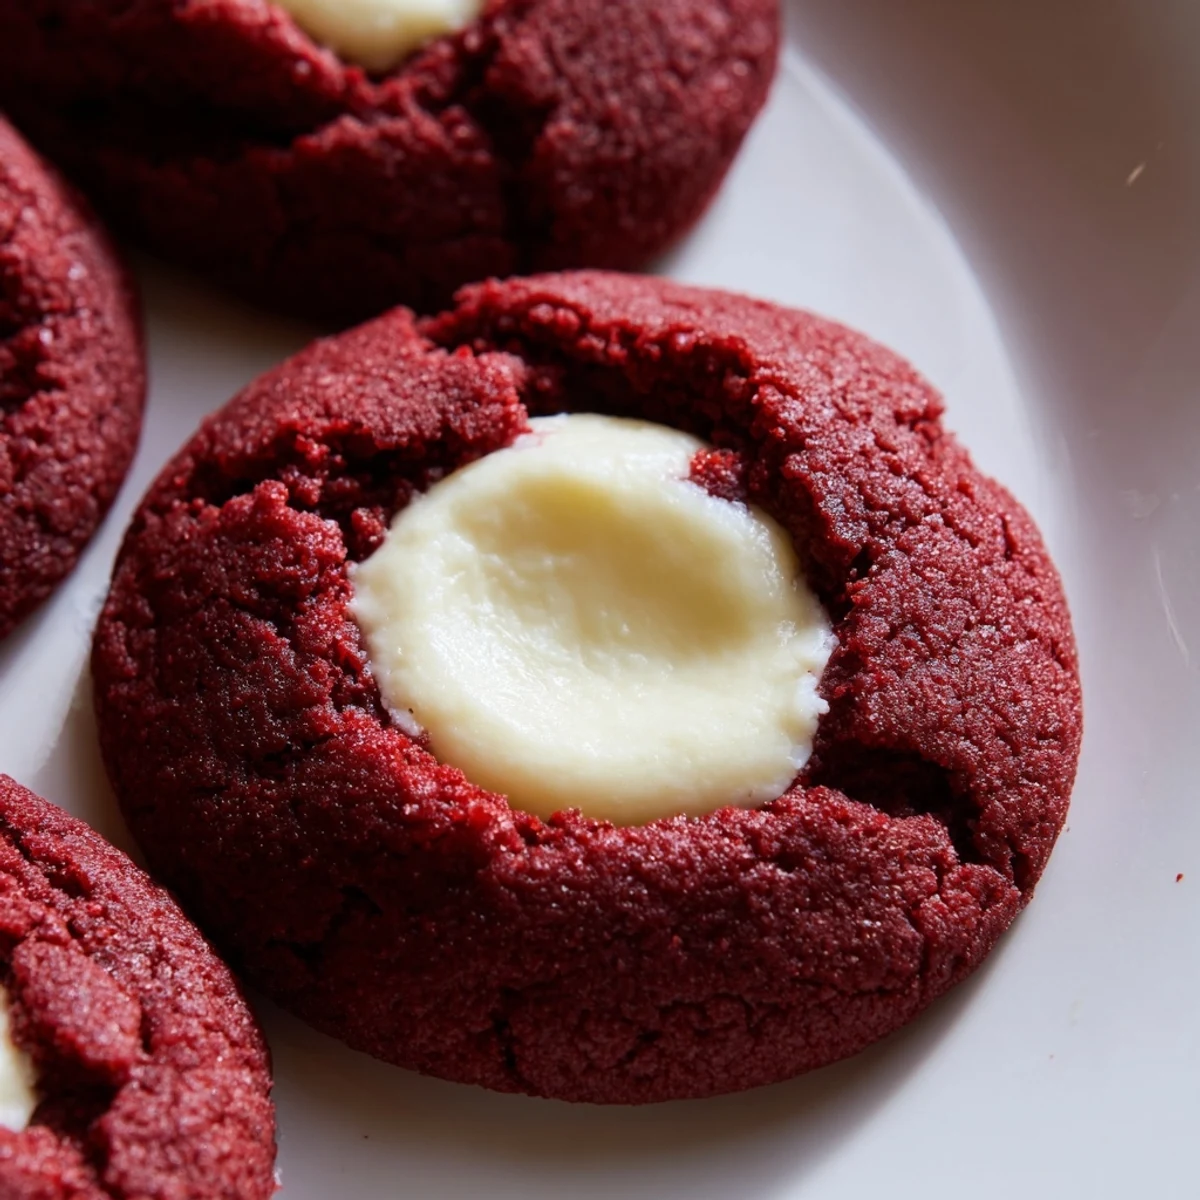
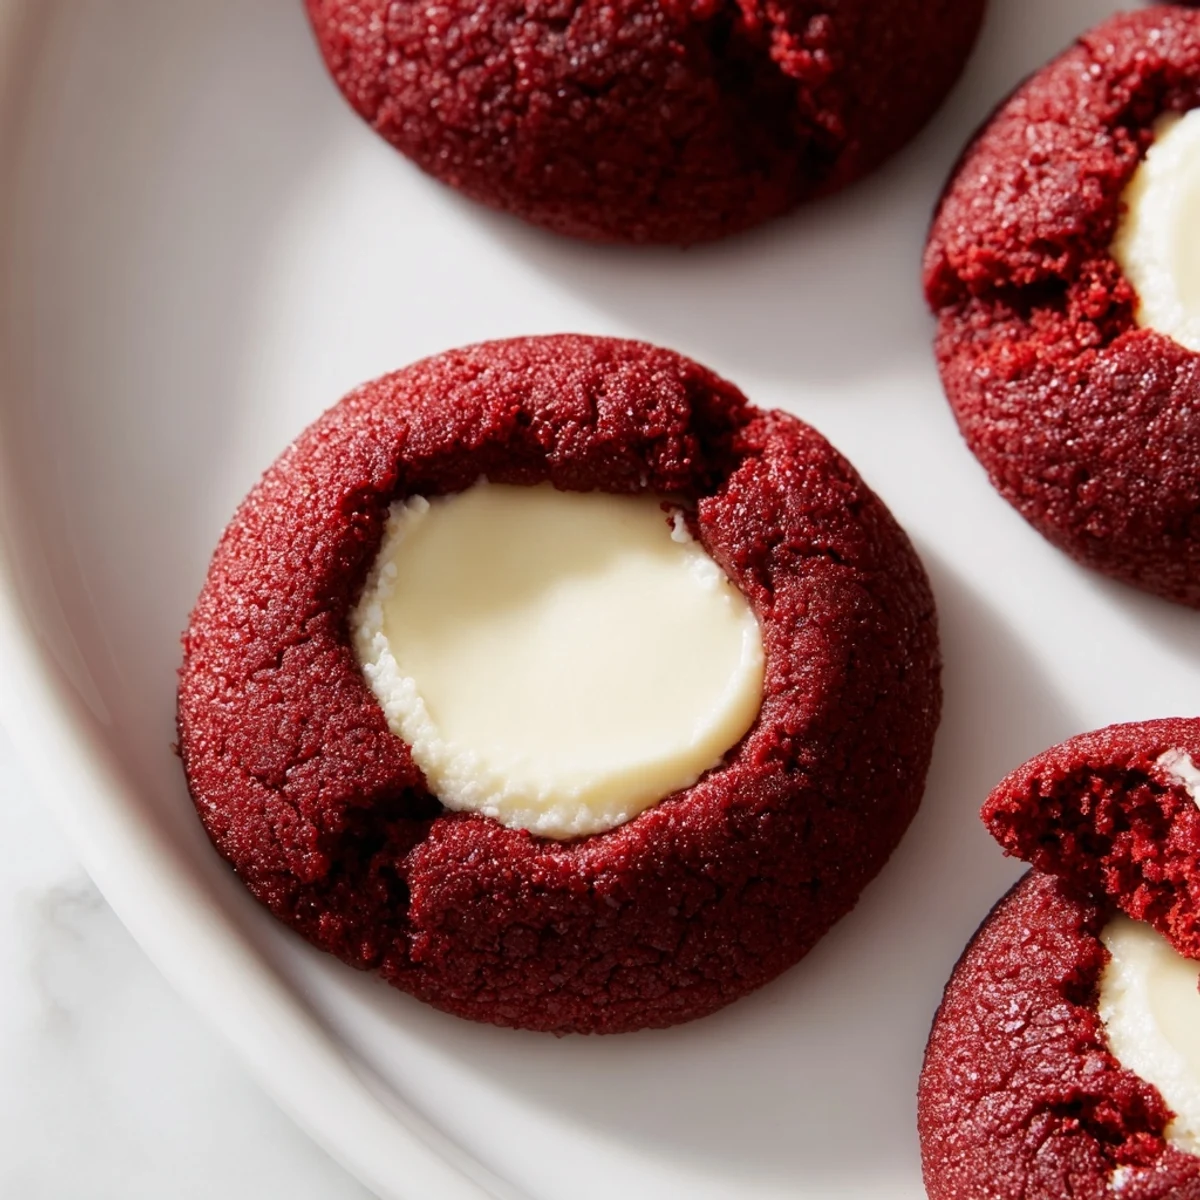
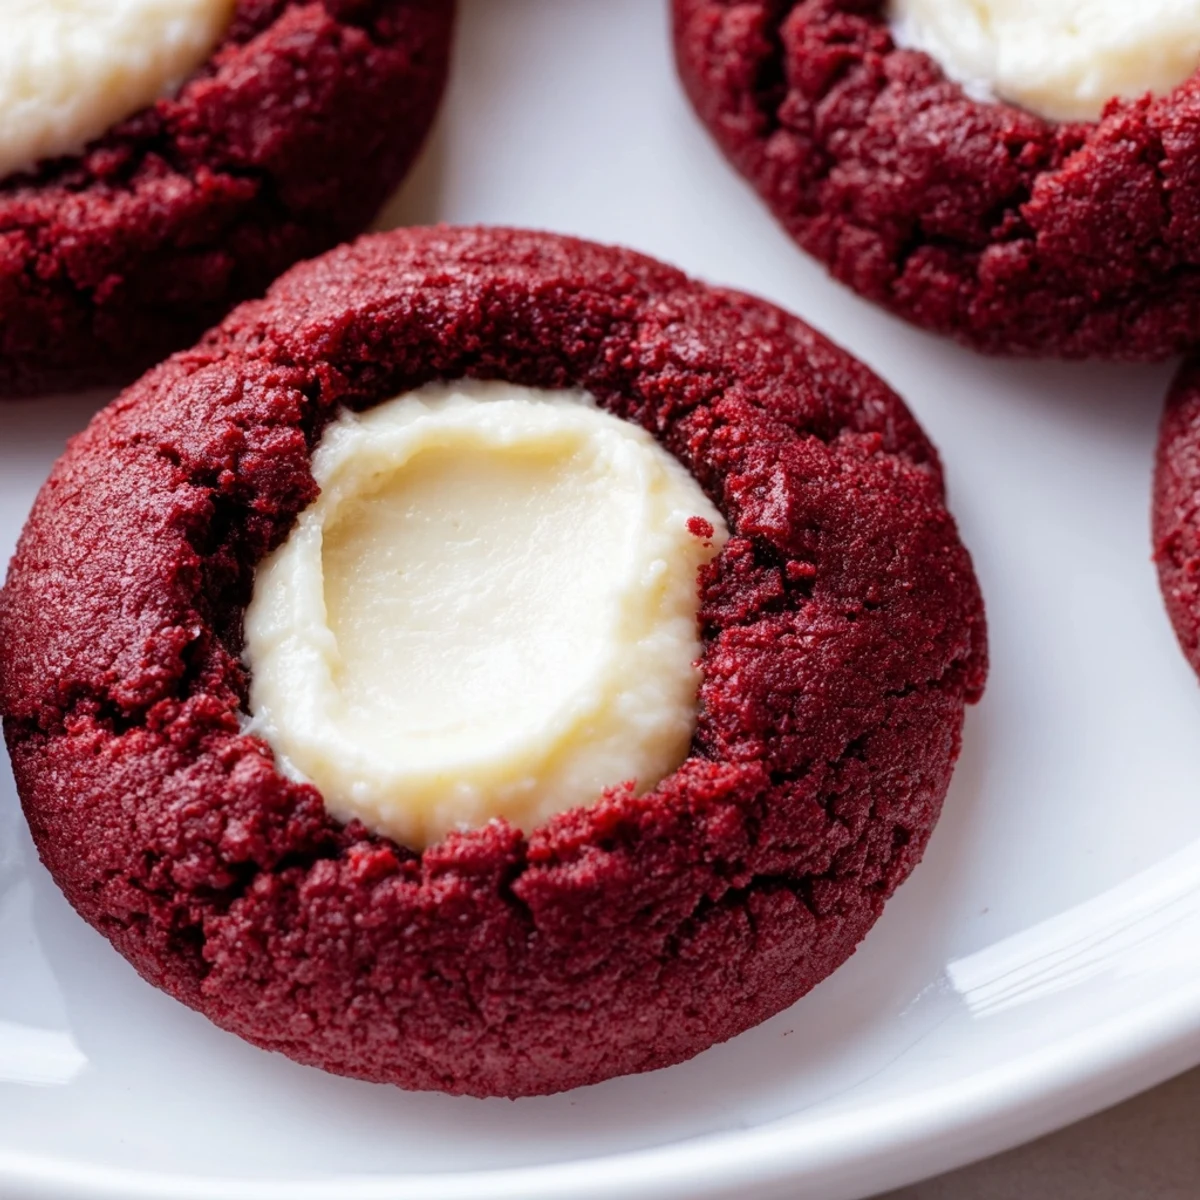
Save These delightful red velvet thumbprint cookies combine the classic cocoa flavor of red velvet with a rich, creamy cheesecake filling. The tender cookie dough features unsweetened cocoa powder and vibrant red coloring, while the smooth cream cheese center adds a luxurious contrast. Ready in just over 30 minutes, these treats are perfect for holidays, parties, or whenever you crave something special. The thumbprint technique creates the perfect well for the luscious filling, and the cookies bake to a perfect set with soft centers.
Last December, my kitchen smelled like butter and cocoa as I experimented with what I called my 'holiday surprise cookies.' The first batch came out a little too flat, but my husband still ate three warm from the oven and declared them a keeper anyway. Something about that vibrant red against the snowy white frosting just makes people smile before they even take a bite.
I brought a plate to my book club meeting last winter, and suddenly everyone was asking for the recipe instead of discussing the book. One friend actually admitted to hiding two cookies in her purse to save for breakfast the next morning. Now theyre my go-to whenever I need to bring something that feels festive and thoughtful.
Ingredients
- All-purpose flour: The structure that holds everything together without making these cookies tough or cakey
- Unsweetened cocoa powder: Deep chocolate flavor that balances the sweetness perfectly
- Baking soda: Just enough lift to give these cookies their tender crumb
- Salt: Essential for popping the chocolate flavor against all that sugar
- Unsalted butter: Room temperature butter creams into the sugar for that perfect melt in your mouth texture
- Granulated sugar: Creates crisp edges while keeping centers soft
- Egg yolk: Extra richness without the drying effect of egg whites
- Whole milk: Helps bring the dough together and adds tenderness
- Vanilla extract: Pure vanilla makes the cream cheese filling taste like a tiny cheesecake
- Red food coloring: One teaspoon gives that signature red velvet color without affecting flavor
- Cream cheese: Softened to room temperature for a silky smooth filling
- Powdered sugar: Sweetens the cream cheese filling without graininess
Instructions
- Prepare your baking space:
- Preheat your oven to 350°F and line two baking sheets with parchment paper so your cookies wont stick
- Whisk the dry ingredients:
- In a medium bowl, combine flour, cocoa powder, baking soda, and salt until well blended
- Cream butter and sugar:
- Beat butter and sugar together for about 2 minutes until the mixture looks pale and fluffy
- Add wet ingredients:
- Mix in the egg yolk, milk, vanilla, and red food coloring until everything is incorporated
- Combine dough:
- Gradually stir in the dry ingredients just until no flour streaks remain
- Make the filling:
- Whisk cream cheese, powdered sugar, and vanilla in a small bowl until completely smooth
- Shape the cookies:
- Roll dough into 1 inch balls and place them 2 inches apart on your prepared baking sheets
- Create the thumbprints:
- Press your thumb gently into the center of each ball to make a deep well for the filling
- Fill the centers:
- Spoon about half a teaspoon of cream cheese filling into each indentation
- Bake to perfection:
- Bake for 11 to 13 minutes until the edges look set but the centers still slightly soft
- Cool completely:
- Let the cookies rest on the baking sheet for 5 minutes then move them to a wire rack
 Save
Save My niece helped me make a batch last weekend and insisted on adding rainbow sprinkles to half of them before baking. They looked ridiculous but she was so proud taking them home to show her mom. Sometimes the ugliest cookies become the sweetest memories.
Making These Ahead
The cookie dough balls freeze beautifully for up to three months. Just roll them, press the thumbprints, and freeze on a baking sheet before transferring to a container. Thaw for fifteen minutes then fill and bake whenever you need fresh cookies.
Filling Variations
While cream cheese is classic, I have tried white chocolate ganache and even peanut butter filling. The white chocolate version becomes fudge-like and firms up beautifully, making these perfect for gift boxes that need to travel.
Storage Secrets
These cookies actually improve after chilling in the refrigerator overnight. The cream cheese filling becomes more stable and the red velvet flavor deepens.
- Store between layers of parchment paper to prevent sticking
- Bring to room temperature for twenty minutes before serving
- The cream cheese filling keeps these fresh for up to five days refrigerated
 Save
Save Hope these bring as much joy to your kitchen as they have to mine.
Recipe FAQs
- → Can I make the dough ahead of time?
-
Yes, you can prepare the cookie dough up to 2 days in advance. Wrap tightly in plastic wrap and refrigerate. Let it soften slightly before rolling into balls.
- → What other fillings work well?
-
White chocolate ganache, dark chocolate ganache, or even fruit preserves like raspberry or strawberry make excellent alternatives to the cream cheese filling.
- → Why did my cookies spread too much?
-
This can happen if the dough is too warm or the butter was overly soft. Chill the dough balls for 15-20 minutes before baking if your kitchen is warm.
- → Can I freeze these cookies?
-
Yes, freeze unfilled baked cookies for up to 3 months. Thaw and fill with fresh cream cheese mixture when ready to serve for best texture.
- → How do I store filled cookies?
-
Store in an airtight container in the refrigerator for up to 4 days. The cream cheese filling requires refrigeration to maintain freshness and food safety.
- → Can I use natural red food coloring?
-
Beet juice or pomegranate juice can work, though the color will be less vibrant than gel coloring. You may need to add more liquid and adjust the flour slightly.