 Save
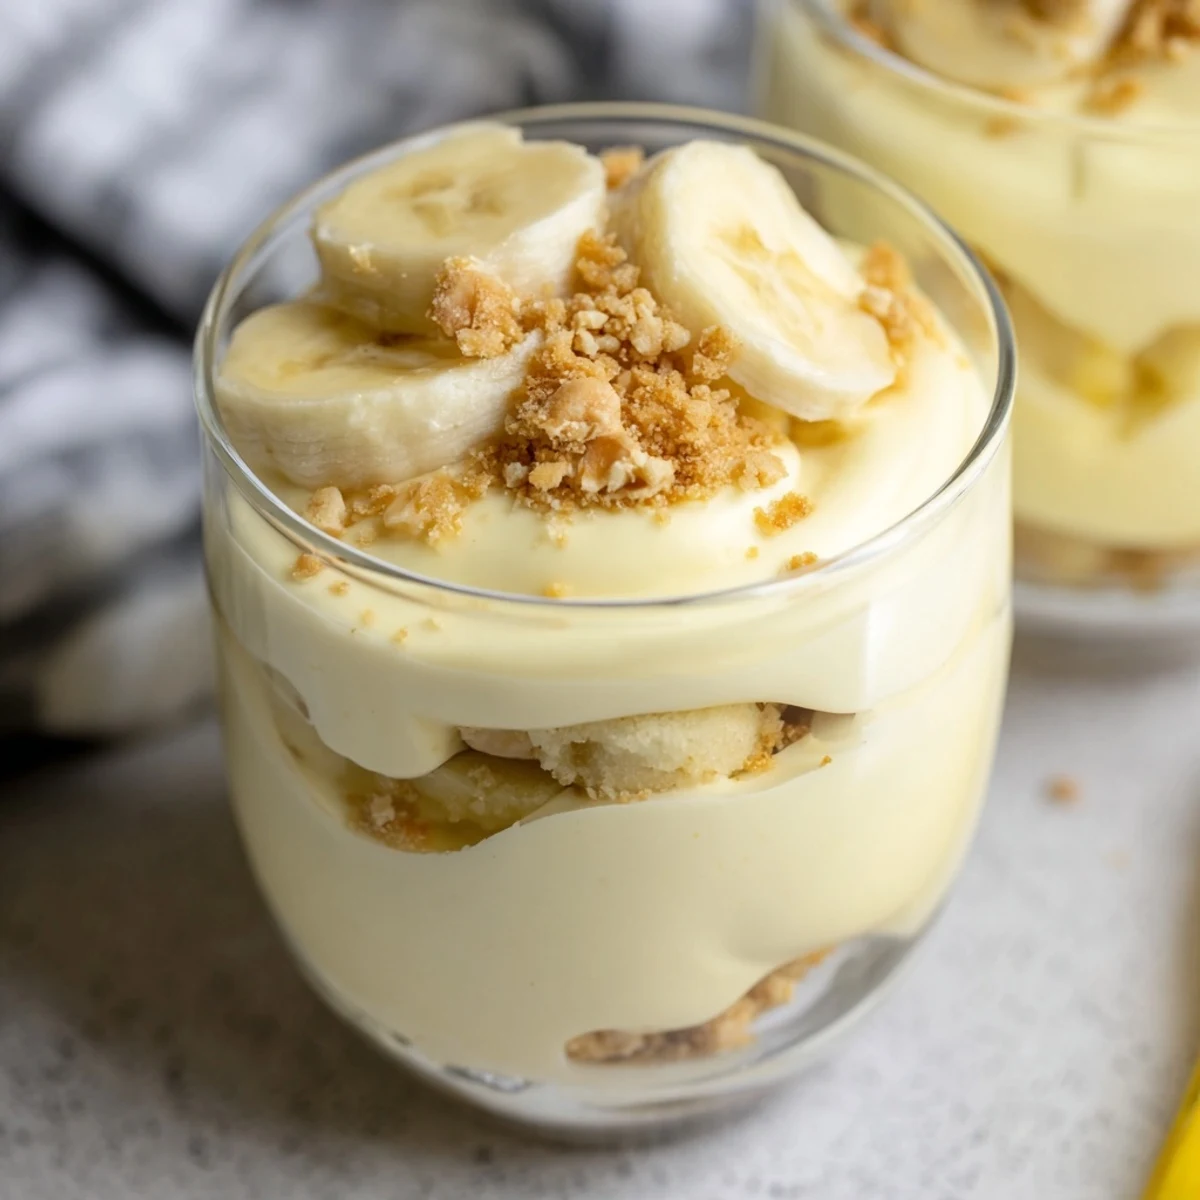
Save These individual cups feature alternating layers of velvety cheesecake filling and classic banana pudding, all resting on a buttery vanilla wafer crust. The creamy combination gets its irresistible texture from whipped cream folded into smooth cream cheese, while instant banana pudding delivers that nostalgic flavor everyone loves. Fresh banana slices add natural sweetness throughout, and a generous topping of crunchy wafer crumbs provides the perfect textural contrast.
What makes these cups special is how simple they come together—just 20 minutes of active prep before chilling sets everything into perfect layers. The individual portions make them ideal for gatherings, and you can assemble them up to 24 hours ahead. For best results, toss the banana slices in a bit of lemon juice to prevent browning, and add fresh toppings right before serving.
Last summer, my sister was hosting a last-minute patio dinner and completely forgot about dessert until an hour before guests arrived. I rummaged through her pantry and found vanilla wafers, cream cheese, and a bunch of spotted bananas—those perfect baking bananas nobody wants to eat plain. We threw these together in twenty minutes, and honestly? They were the hit of the night.
My aunt asked for the recipe three days later, claiming her grandchildren kept begging for those banana cups from the party. She admitted she usually dreads no-bake desserts because they never quite set up properly, but this one had that perfect restaurant-style firmness she couldnt figure out.
Ingredients
- 1 cup vanilla wafer cookies, crushed: These Nilla wafers are non-negotiable—their flavor is nostalgic and their texture creates the perfect crunchy foundation that softens just enough in the fridge
- 2 tbsp unsalted butter, melted: Just enough to bind the crumbs together without making the crust greasy or heavy
- 8 oz cream cheese, softened: Room temperature is crucial here—cold cream cheese creates lumps that no amount of mixing can fix
- 1/3 cup granulated sugar: This amount sweetens the cheesecake layer without competing with the banana pudding
- 1 tsp pure vanilla extract: Imitation vanilla works in a pinch, but the real stuff makes the flavor pop
- 1 cup heavy whipping cream, cold: The colder the better—I stick my mixing bowl in the freezer for 10 minutes first
- 1 package instant banana pudding mix: The instant variety sets up firmer than cook-and-serve, which is exactly what we want
- 1 1/4 cups cold whole milk: Whole milk creates a richer pudding, but 2% works if thats what you have
- 2 ripe bananas, sliced: Look for bananas with lots of brown spots—theyre sweeter and mash softer if you want to incorporate them into the layers
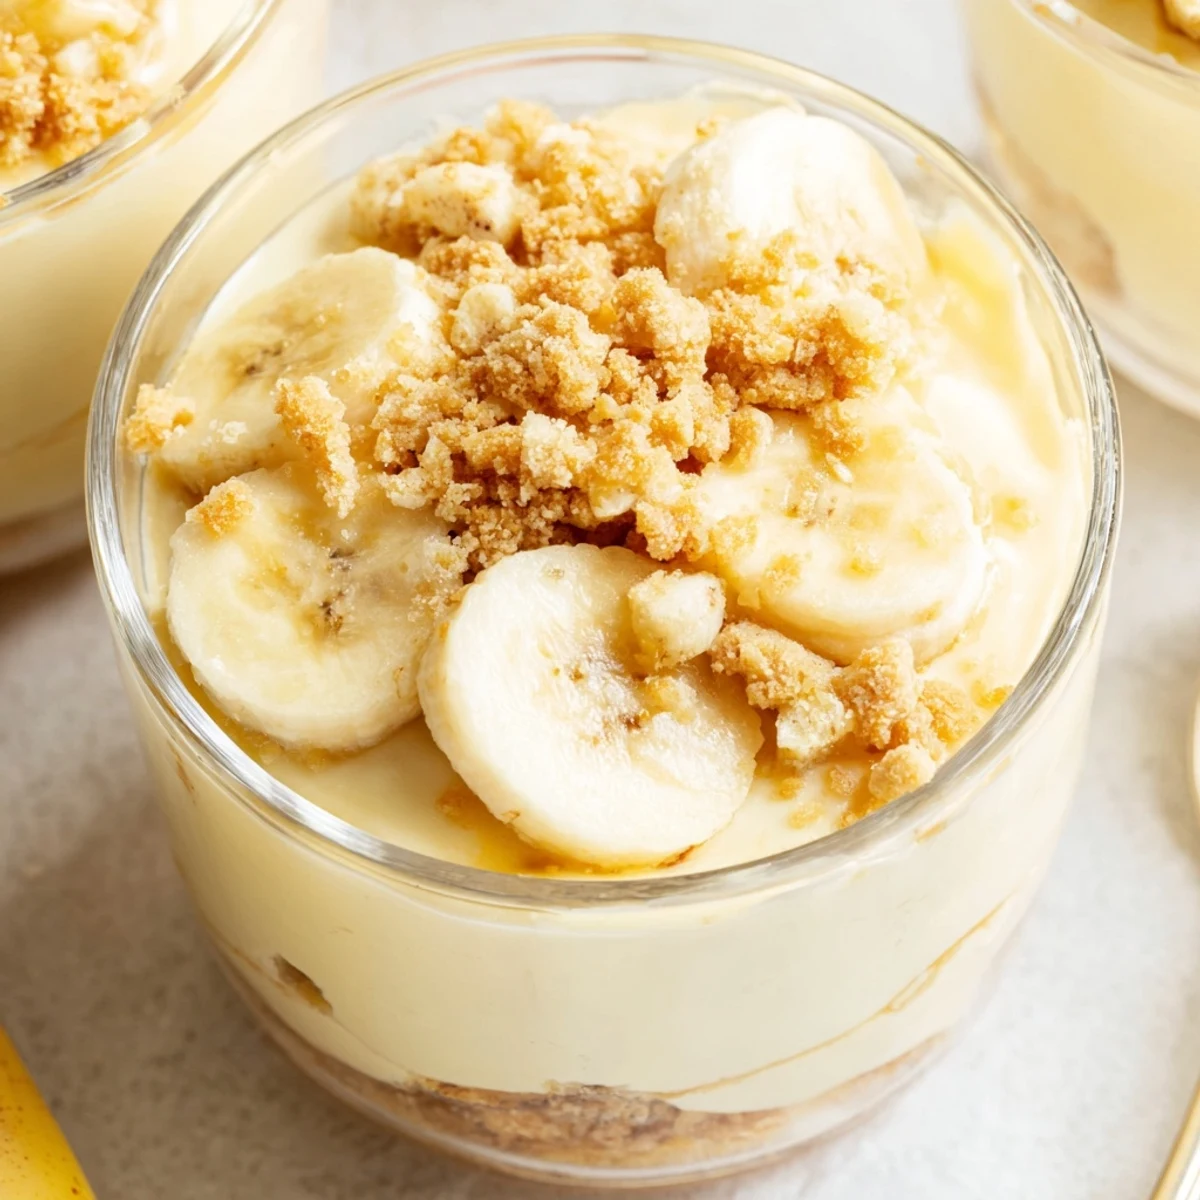
- Additional vanilla wafer crumbs: For that restaurant-style finish on top
- Fresh banana slices: Slice these right before serving so they dont brown
- Whipped cream: Store-bought or homemade—either way, its the crowning glory
Instructions
- Build the crust foundation:
- Mix crushed vanilla wafers and melted butter until every crumb is coated and it looks like wet sand. Spoon about two tablespoons into each serving cup and press down gently with the back of a spoon—you want it firm but not compacted into a rock.
- Whip up the cheesecake layer:
- Beat that softened cream cheese, sugar, and vanilla until completely smooth, scraping down the bowl at least once. In a separate chilled bowl, whip the cold cream until stiff peaks form, then fold it into the cream cheese mixture until no white streaks remain.
- Prepare the pudding layer:
- Whisk the instant pudding mix and cold milk together for a full two minutes—it will look thin at first but keep going. Let it sit for about 5 minutes while you assemble everything else, and it will thicken up beautifully.
- Layer everything like a pro:
- Start with half the cheesecake mixture over each crust, then add a layer of sliced bananas. Divide the pudding among the cups, top with remaining cheesecake filling, and finish with those gorgeous toppings.
 Save
Save My neighbor now makes these for every single family birthday, claiming shes not allowed to bring anything else. Her three-year-old grandson helped her make them last month and apparently licked so many spoons she had to start over with the whipped cream.
Making These Your Own
Once you master the basic technique, the variations are endless. I have made these with chocolate wafer crusts, added a swirl of caramel between layers, and even mixed crushed pineapple into the pudding layer for a banana-pineapple twist. My friend substitutes coconut milk in the pudding for a subtle tropical note that people cannot quite identify but absolutely love.
Serving Suggestions
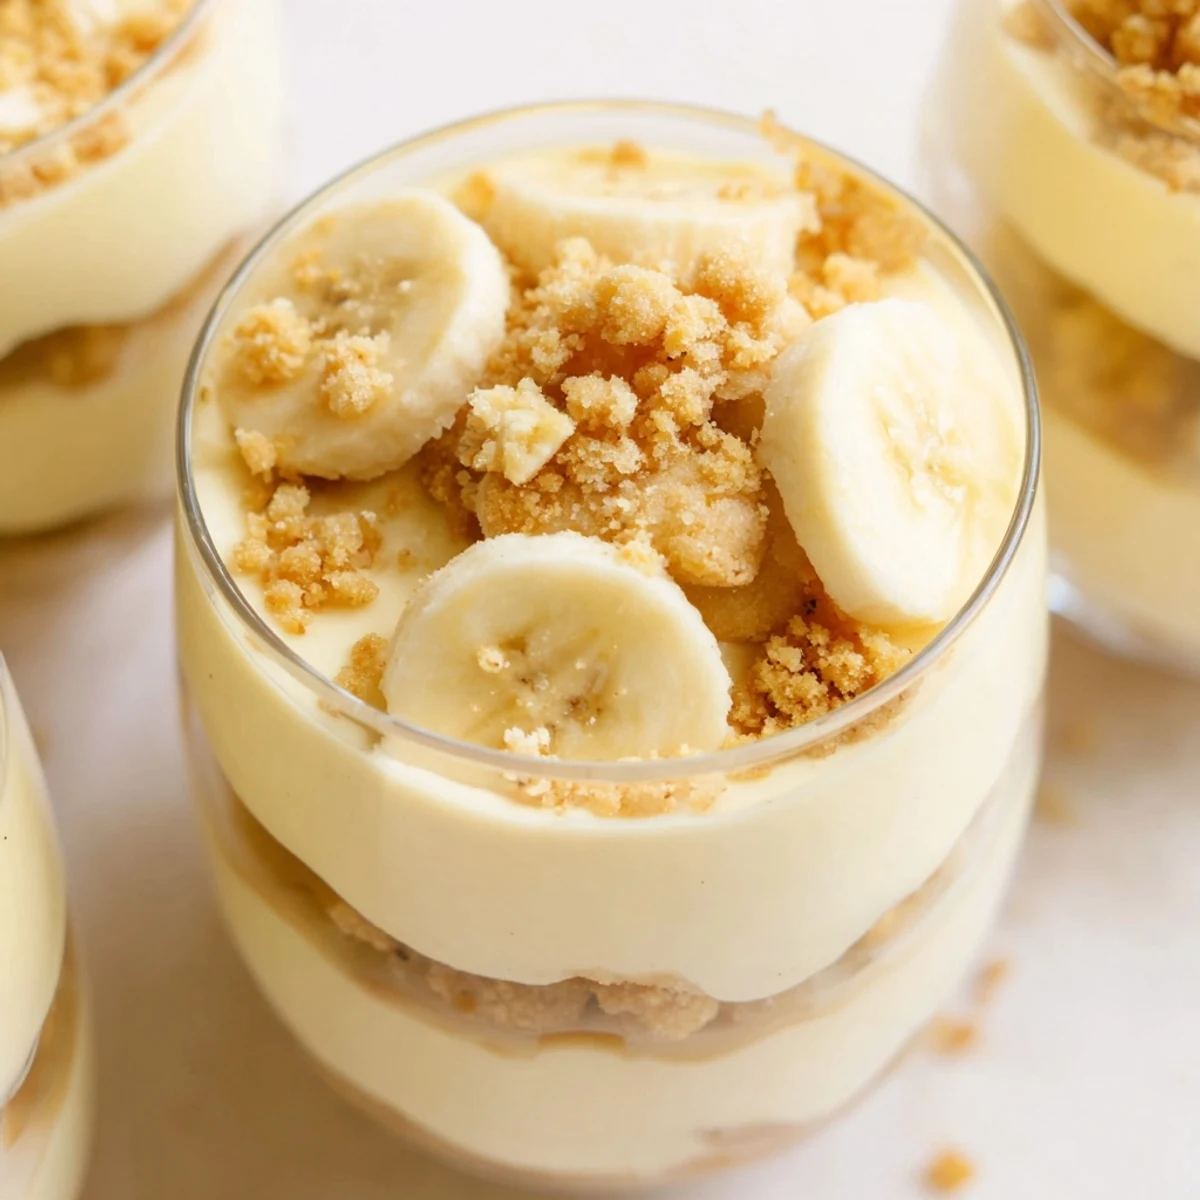
Clear glass cups or jars show off those beautiful layers, but honestly, mason jars work perfectly fine. These are ideal for potlucks, dinner parties, or that moment at 9pm when you need something sweet but cannot bear to turn on the oven. I have served them at everything from casual weeknight desserts to fancy dinner parties, and they are always the first thing to disappear.
Storage and Make-Ahead Tips
You can assemble these up to 24 hours in advance, but hold off on the fresh banana toppings until right before serving. The crust will soften slightly overnight, which I actually prefer—it becomes more like a soft cake layer than a crunchy one. These do not freeze well due to the pudding texture, so plan to enjoy them within three days.
- Press plastic wrap directly onto the surface to prevent a skin from forming if storing longer than a few hours
- Bring them out of the fridge about 10 minutes before serving for the best texture
- If the topping bananas start looking sad, just add a fresh layer and nobody will know the difference
 Save
Save There is something deeply satisfying about a dessert that looks this impressive but comes together this easily. Happy layering!
Recipe FAQs
- → Can I make these cups ahead of time?
-
Yes, these cups can be assembled up to 24 hours in advance. Simply cover and refrigerate, then add fresh banana slices and wafer crumb toppings just before serving to maintain optimal texture and appearance.
- → How do I prevent bananas from turning brown?
-
Toss sliced bananas lightly in lemon juice before layering them into the cups. The citric acid helps prevent oxidation. Alternatively, add banana slices right before serving rather than during assembly.
- → Can I use homemade banana pudding instead of instant?
-
Absolutely. Homemade vanilla or banana pudding works beautifully—just ensure it's fully chilled and thickened before layering. You may need to adjust the amount depending on your recipe's yield.
- → What size cups work best for this dessert?
-
Use 6-8 ounce individual serving cups, mason jars, or dessert glasses. This size accommodates all three layers comfortably while leaving room for toppings. Clear vessels showcase the beautiful layered presentation.
- → Can I substitute the vanilla wafers?
-
Graham cracker crumbs, gingersnaps, or shortbread cookies all make excellent crust alternatives. For a gluten-free version, use certified GF vanilla wafers or crushed GF cookies with similar texture.
- → How long do these need to chill before serving?
-
Minimum 2 hours of chilling allows layers to set properly, but 3-4 hours yields the firmest, most cohesive texture. The flavors also meld beautifully during this time, making the dessert even more delicious.