 Save
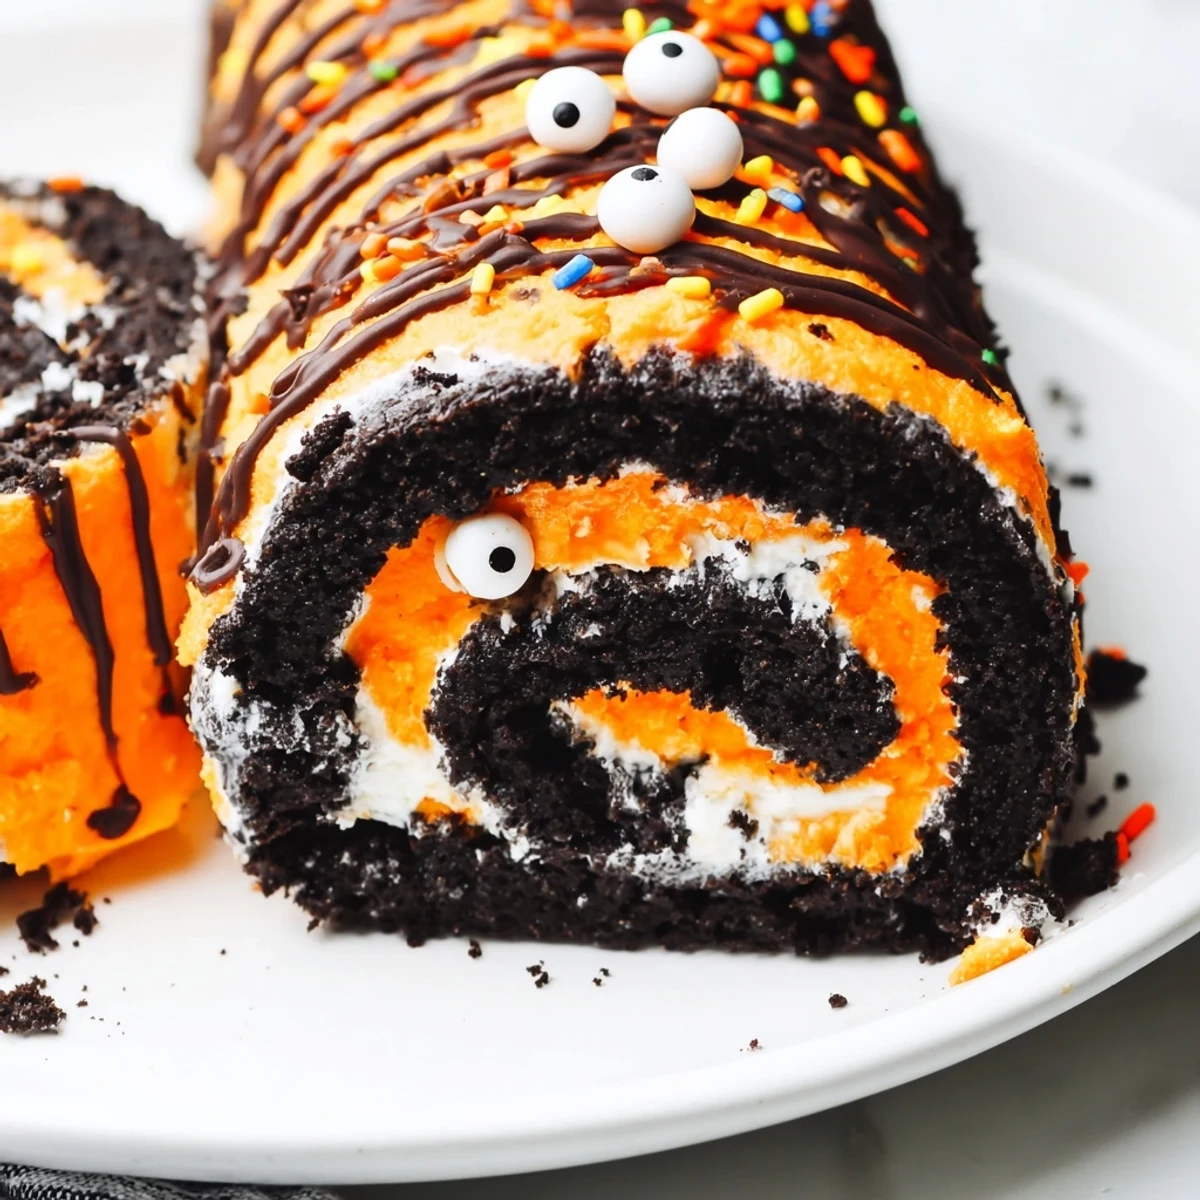
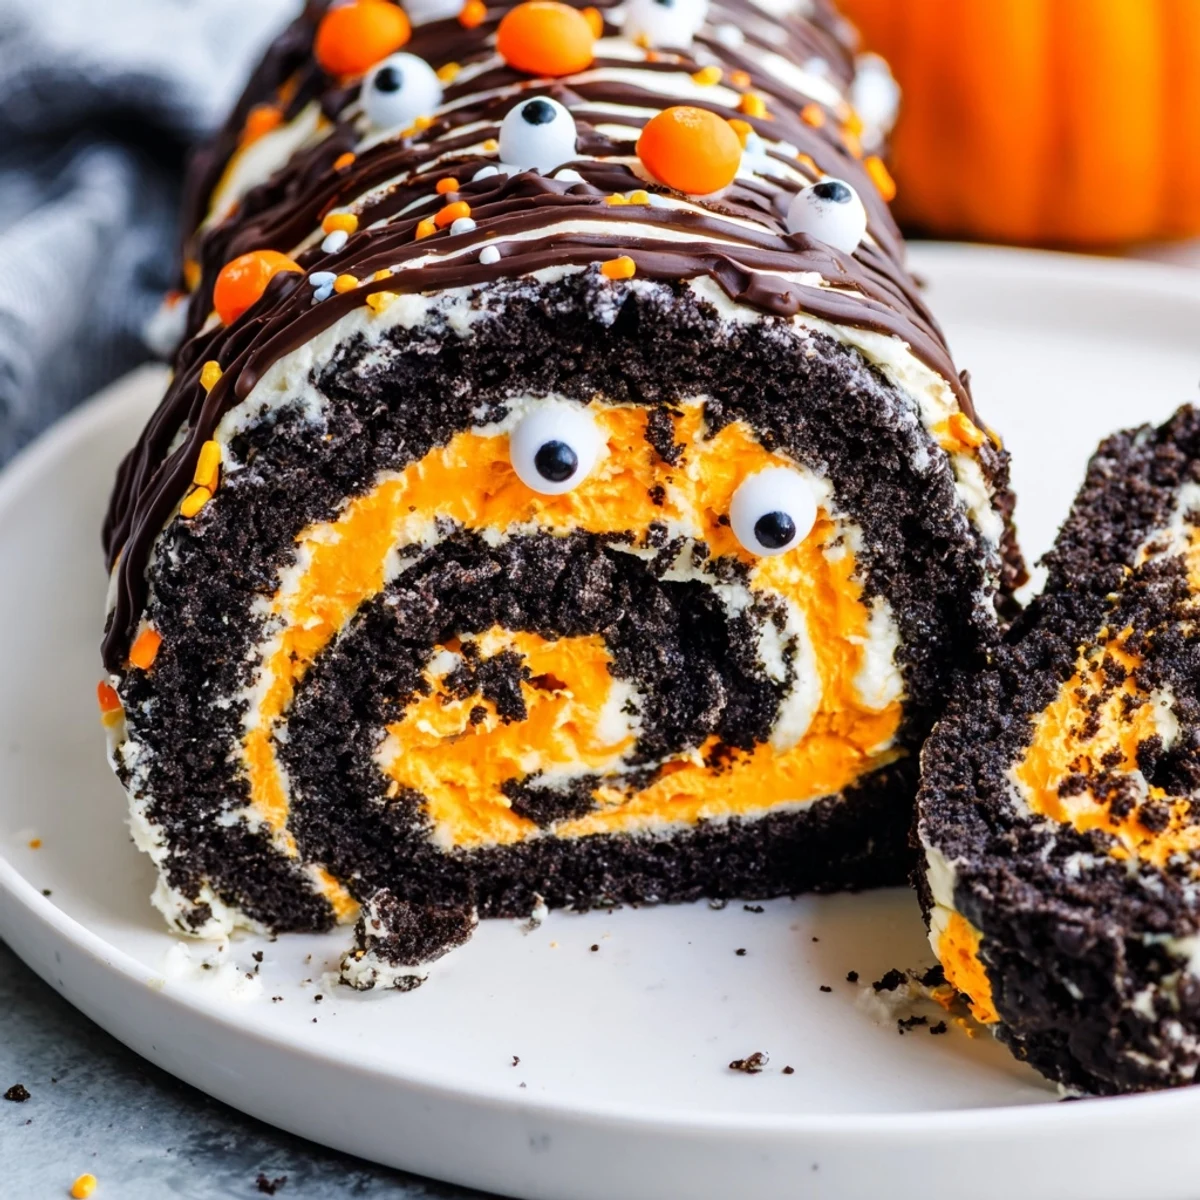
Save This spooky Halloween Oreo roll combines a rich cookies and cream base with vibrant orange whipped cream filling. The no-bake preparation makes it incredibly simple—just crush Oreos, mix with butter and cream cheese, roll into a rectangle, and spread with colored whipped cream before rolling into a log. Chill for one hour until firm, then decorate with Halloween sprinkles, candy eyes, and chocolate drizzle for an impressively festive dessert.
The kitchen counter looked like a pumpkin patch explosion when my daughter first suggested making this Oreo roll. We had orange food coloring everywhere, powdered sugar dusting our cheeks, and Halloween Oreos scattered across every available surface. Instead of the elegant log we planned, we ended up with something that looked like it had been through a haunted house backwards. But one taste of that cream-filled chocolate wonder and we didnt care how messy it looked.
Last October I brought this to a potluck and watched three grown adults fight over the last slice. Someone actually asked if I could make it for their birthday in December with red and green food coloring instead. The best part was seeing my usually picky nephew grab seconds before anyone else could reach for a serving.
Ingredients
- Halloween Oreos: The festive orange cream filling inside makes this extra special but regular Oreos work perfectly fine too
- Powdered sugar: Sweetens both the cookie base and the whipped cream without creating any gritty texture
- Unsalted butter melted: Helps bind the crushed cookies into a pliable dough that rolls without cracking
- Cream cheese softened: Adds tanginess and structure to the cookie base so it holds together when sliced
- Heavy whipping cream: Whips up into those gorgeous stiff peaks that make the filling light and airy
- Vanilla extract: Rounds out all the chocolate and cream flavors with warm sweetness
- Orange or purple food coloring: Transform the plain whipped cream into something magical and Halloween themed
- Halloween themed sprinkles: Because everything tastes better when its covered in edible glitter and spiderwebs
Instructions
- Prep your workspace:
- Line a large baking sheet or clean counter with parchment paper making sure its large enough to roll out your cookie dough
- Make the cookie base:
- Pulse those Oreos in a food processor until theyre fine crumbs then mix with powdered sugar melted butter and softened cream cheese until everything comes together into a thick sticky dough
- Roll it out:
- Place the Oreo mixture between two sheets of parchment and roll it into a rectangle about half an inch thick trying to keep the edges relatively even
- Whip the cream:
- In a chilled bowl beat that heavy cream with powdered sugar and vanilla until you have stiff peaks then gently fold in your food coloring until its evenly tinted
- Spread and roll:
- Spread the colored whipped cream over your Oreo base leaving a one inch border along one long edge then use the parchment to help you roll everything into a tight log starting from the edge without the border
- Chill completely:
- Pop that beautiful roll into the fridge for at least an hour until its firm enough to slice cleanly
- Decorate like mad:
- Drizzle with melted chocolate add those sprinkles and candy eyes then slice into one inch pieces with a sharp knife
 Save
Save This has become our official Halloween tradition right alongside picking out pumpkins and watching Hocus Pocus for the hundredth time. Theres something genuinely satisfying about cutting into that spiral and seeing the orange cream peeking through all that chocolate cookie goodness.
Getting The Colors Right
Start with a tiny drop of gel food coloring because those little pots pack way more punch than you expect. You can always add more but you cant take it back once your whipped cream looks like a radioactive accident. I learned this the hard way and ended up with neon filling that glowed under the kitchen lights.
Making It Ahead
You can absolutely make this the day before your party and it might actually taste better after sitting overnight. The cookie base softens slightly and all the flavors meld together into this incredibly cohesive dessert. Just wrap it tightly in plastic and add the decorations right before serving so they stay fresh and vibrant.
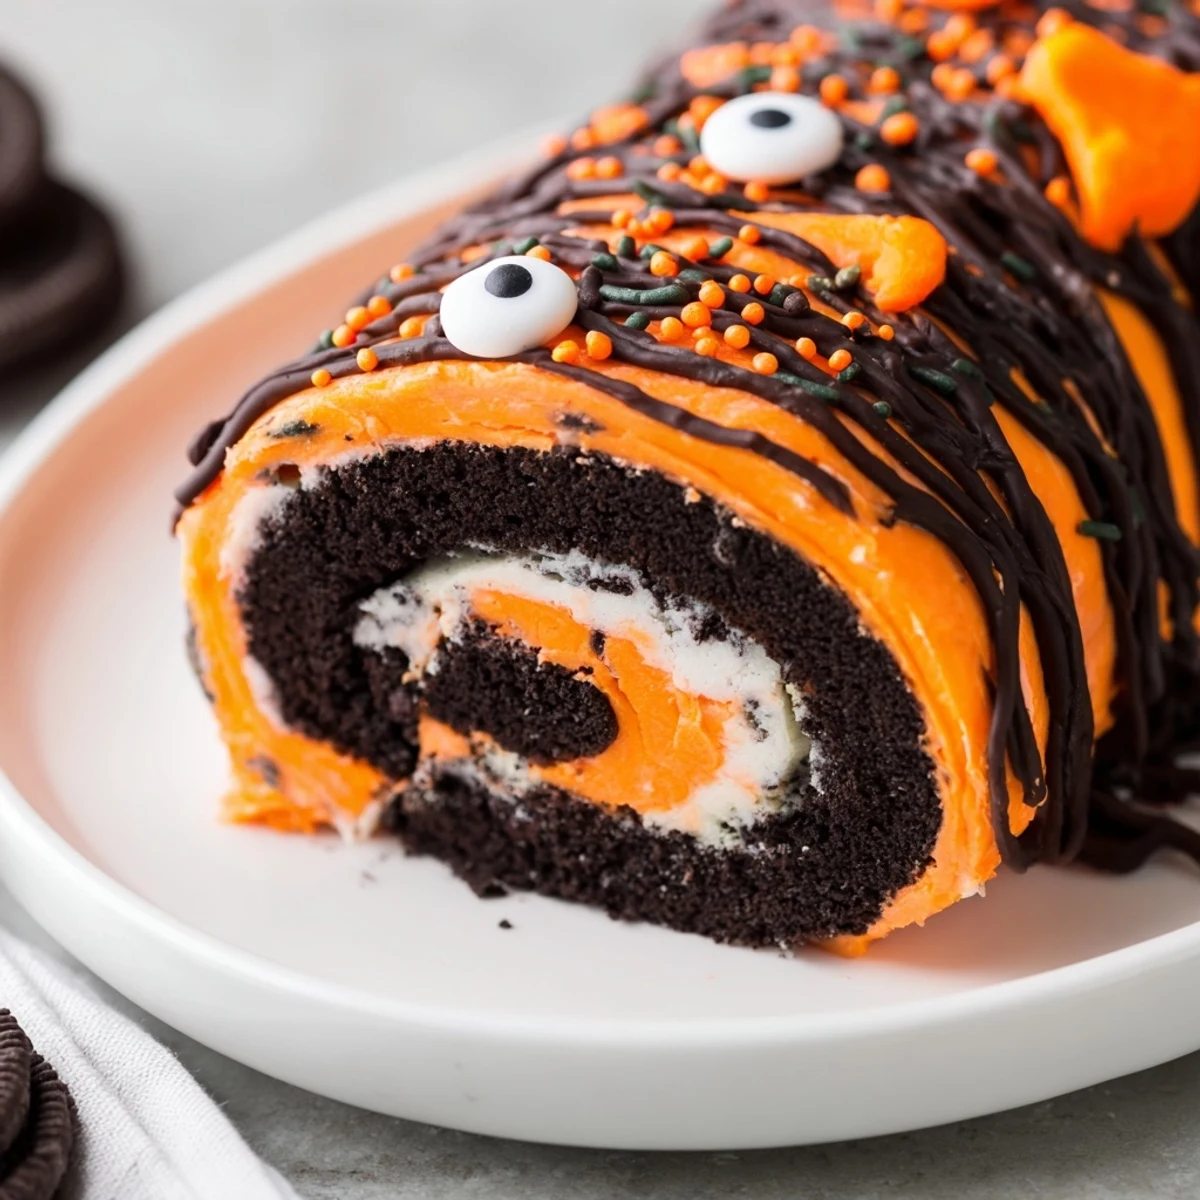
Decoration Ideas That Wow
Melt some white chocolate and let it drip down the sides like spiderwebs or use dark chocolate for a more dramatic look. Crush extra Oreos and press them into the whipped cream before rolling for extra texture and crunch throughout every bite.
- Get creative with candy eyes placed strategically for maximum spookiness
- Mix orange zest into the whipped cream for subtle brightness that cuts through all that richness
- Set up a decorating station and let everyone add their own terrifying touches before serving
 Save
Save Hope this brings some spooky delicious fun to your Halloween table this year.
Recipe FAQs
- → Can I make this Halloween Oreo roll ahead of time?
-
Absolutely! You can prepare the roll up to 24 hours in advance. Keep it refrigerated until ready to serve, then add decorations like sprinkles and chocolate drizzle just before serving for the freshest appearance.
- → What if I can't find Halloween Oreos?
-
Regular Oreos work perfectly—simply add orange food coloring to the whipped cream filling. You can also use colored sprinkles and decorations to achieve the Halloween look without specialty cookies.
- → How do I get clean slices when serving?
-
Chill the roll thoroughly for at least 1-2 hours before slicing. Use a sharp knife and wipe it clean between cuts. For even cleaner slices, briefly run the knife under hot water and dry it between each cut.
- → Can I freeze the Oreo roll for later?
-
Yes! Wrap the undecorated roll tightly in plastic wrap and freeze for up to 1 month. Thaw in the refrigerator overnight, then add fresh decorations before serving.
- → What other colors work for different occasions?
-
Red and green for Christmas, pastels for Easter, or red-white-blue for the Fourth of July. The basic Oreo roll adapts beautifully to any holiday with simple color changes.