 Save
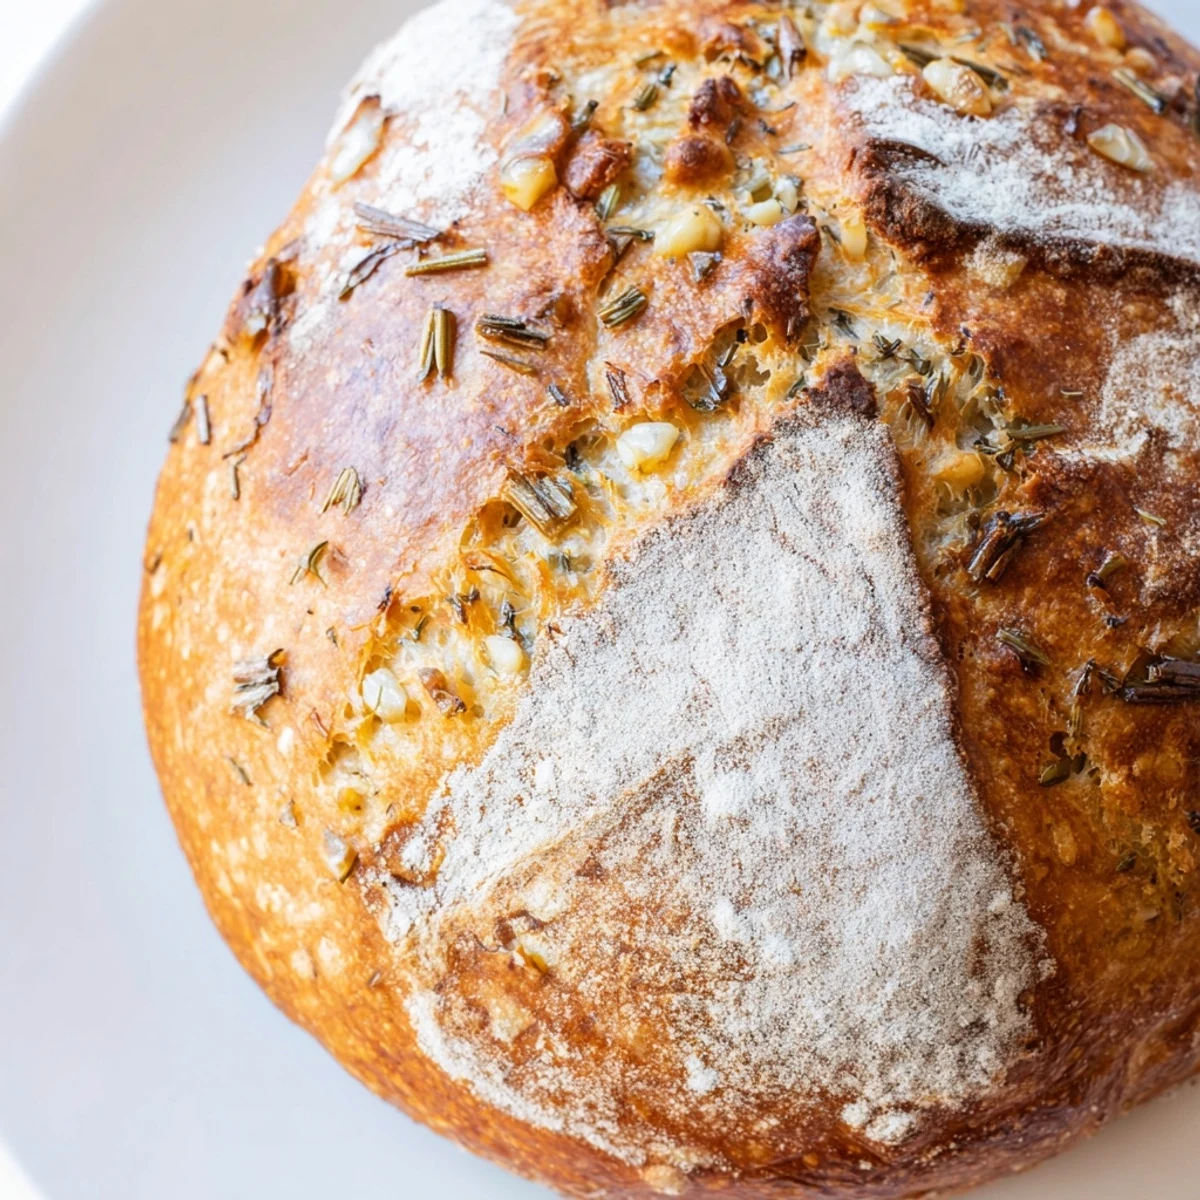
Save This artisan-style loaf delivers everything you want from homemade bread: a crackling golden crust giving way to a tender, aromatic interior. The Dutch oven creates steam that mimics professional baker ovens, while fresh garlic and rosemary infuse every bite with savory flavor. The hands-on time is minimal—just mix, let rise, and bake. You'll find the process incredibly rewarding, especially when you tear into that first warm slice.
The smell of garlic and rosemary hitting that hot Dutch oven is something I wish I could bottle. I stumbled onto this method during a particularly snowy February when the craving for real bread outweighed my fear of yeast. Now its the one recipe that actually gets my family to put their phones down at dinner time.
Last winter my neighbor knocked on my door because she thought Id been baking bread for hours. I had to explain it was just the garlic and rosemary doing all the heavy lifting. Now she requests a loaf every time it snows.
Ingredients
- 3 1/4 cups bread flour: Higher protein content gives you that professional bakery texture and structure
- 2 tsp fine sea salt: Dont skip this or reduce it. Salt is what makes the flavor pop against the garlic
- 1/2 tsp active dry yeast: A small amount works perfectly because of the long rise time
- 1 1/2 cups lukewarm water: Think bathwater temperature. Too hot kills the yeast, too cold makes it sluggish
- 2 tbsp olive oil: Keeps the crumb tender and adds a subtle fruity note
- 4 cloves garlic: Fresh minced is best but roasted garlic deepens the flavor if you have time
- 2 tbsp fresh rosemary: Dried works but fresh gives you those little aromatic bursts in every bite
- Extra flour for dusting: Prevents sticking and gives the bottom that rustic finished look
Instructions
- Make the dough:
- Whisk the flour, salt, and yeast in a large bowl until you cant see any salt crystals. Pour in the water and olive oil, stirring with a wooden spoon until everything comes together in a shaggy, sticky mass.
- Add the aromatics:
- Fold in your minced garlic and chopped rosemary just until distributed. Some patches will look garlic heavy and thats exactly what you want.
- Let it rise:
- Cover the bowl with plastic wrap or a damp kitchen towel and walk away for 2 to 3 hours. The dough should balloon up and look bubbly on top.
- Shape the loaf:
- Turn the dough onto a floured surface and gently fold the edges toward the center to form a ball. Use plenty of flour on your hands to prevent sticking.
- Second rise:
- Place the dough seam side down on parchment paper and cover loosely. Let it rest for 30 to 45 minutes while you preheat your oven.
- Preheat strategically:
- Put your Dutch oven and lid in the oven and crank it to 450°F. Let it get screaming hot for at least 30 minutes. This creates the steam environment that makes the crust spectacular.
- Bake with steam:
- Carefully lift the parchment and dough into the blazing hot Dutch oven. Cover immediately with the lid and bake for 30 minutes.
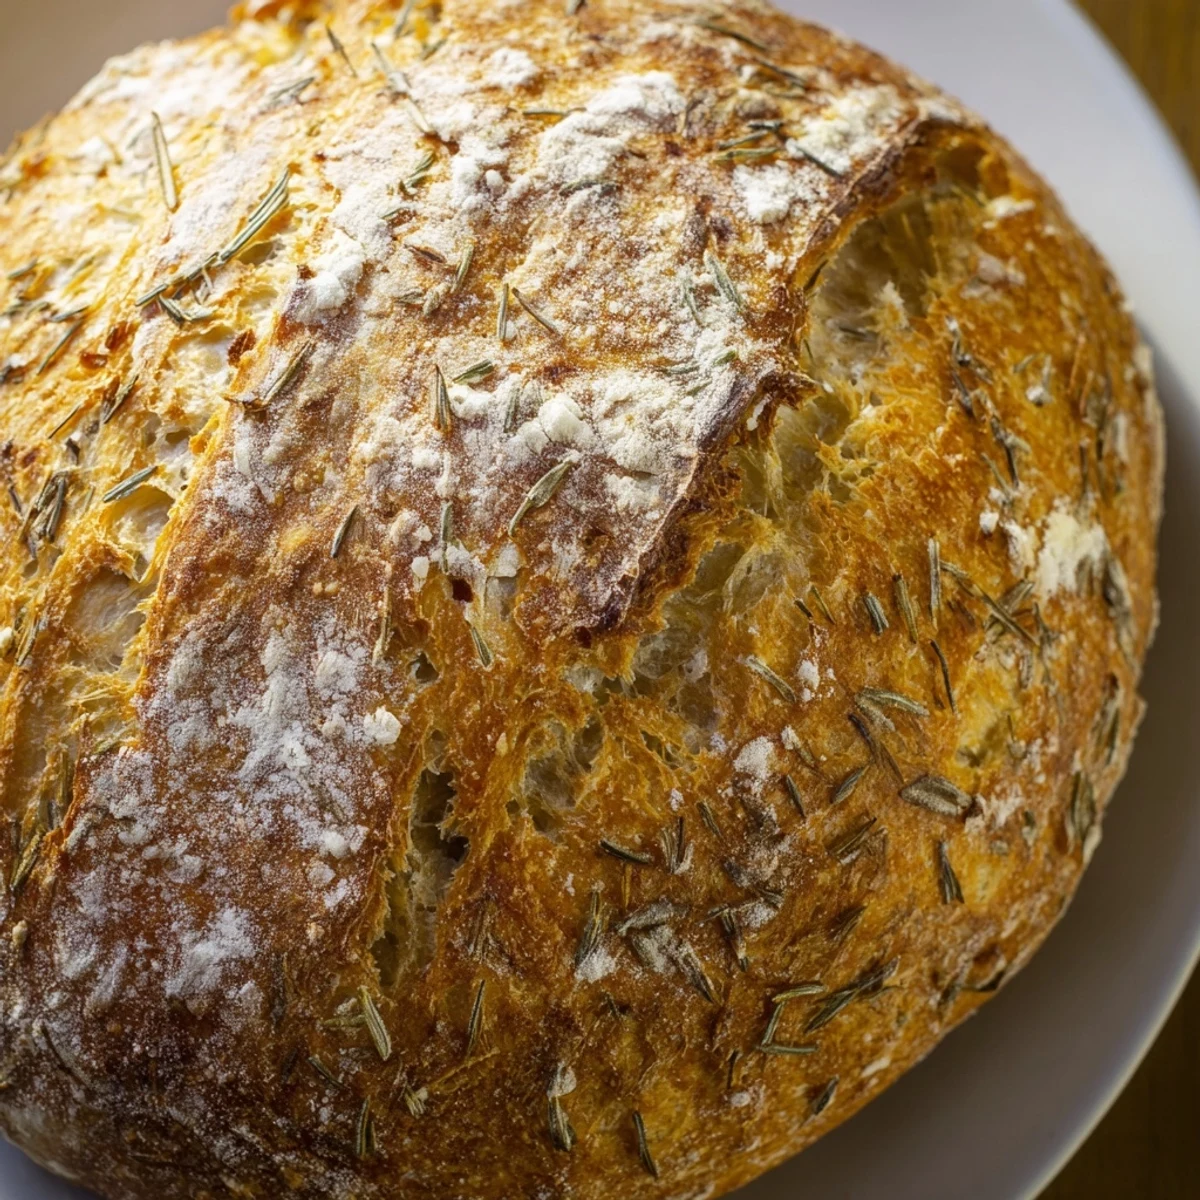
- Finish the crust:
- Remove the lid and bake another 12 to 15 minutes until the crust is deep golden brown. Cool on a wire rack for at least 20 minutes before slicing.
 Save
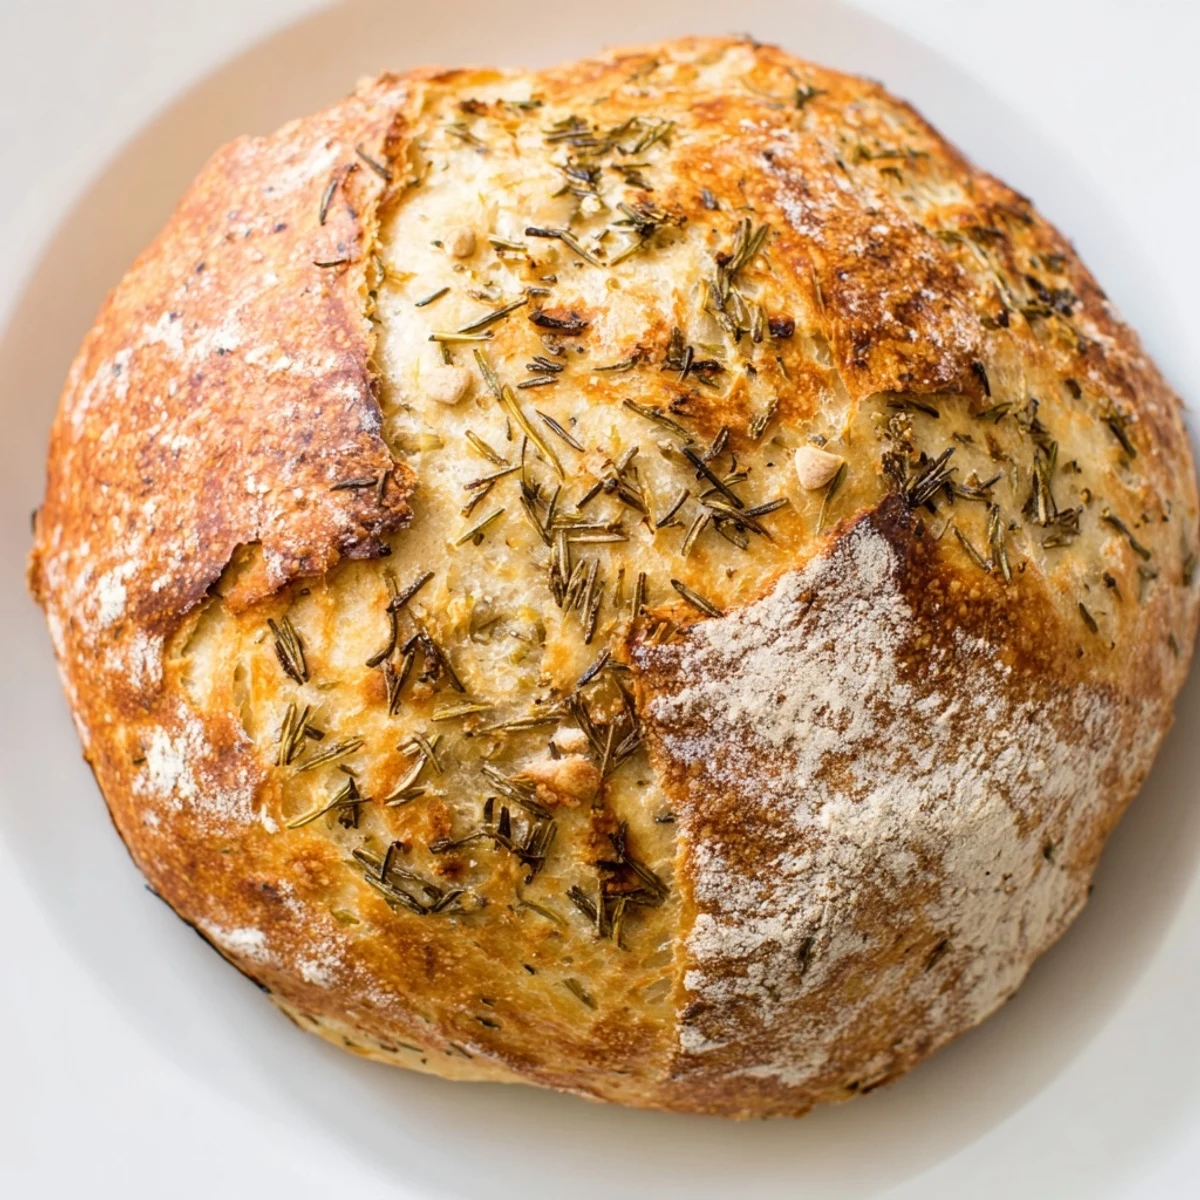
Save My kids used to complain about garlic bread until I made this. Now the first thing they ask when they walk in the door is whether theres rosemary bread. Its funny how something so simple can become a family tradition without anyone planning it.
Getting The Rise Right
Cold kitchens can be tricky for bread dough. I usually put my bowl near a sunny window or even on top of the refrigerator where its slightly warmer. The dough should look puffy and bubbly, not just bigger.
Customizing The Flavor
Sometimes I add a handful of kalamata olives or sun dried tomatoes to the dough. Just fold them in gently with the garlic and rosemary. The salty pops against the herbaceous base are incredible.
Making It Ahead
You can mix the dough the night before and let it rise slowly in the refrigerator. The cold fermentation actually develops more flavor. Bring it to room temperature for an hour before shaping.
- The dough can refrigerate for up to 24 hours before baking
- Baked bread freezes beautifully wrapped tightly in plastic and foil
- Day old leftovers make the most incredible garlic bread or croutons
 Save
Save Theres something almost meditative about making bread this way. No kneading required, just patience and faith that simple ingredients will transform into something extraordinary.
Recipe FAQs
- → Why bake bread in a Dutch oven?
-
The Dutch oven traps steam from the dough, creating a humid environment that helps the crust develop beautifully while keeping the interior moist and tender. It's the closest home method to professional deck ovens.
- → Can I use dried rosemary instead of fresh?
-
Fresh rosemary provides the best flavor and texture, but you can substitute with dried rosemary. Use about one-third the amount since dried herbs are more concentrated. Soak them in warm water for 10 minutes before adding to the dough.
- → How do I know when the bread is done?
-
The crust should be a deep golden brown color. You can also tap the bottom—if it sounds hollow, it's ready. An instant thermometer inserted into the center should read between 190-200°F (88-93°C).
- → Can I refrigerate the dough overnight?
-
Absolutely. After the initial rise, you can refrigerate the dough for up to 24 hours. This actually develops more complex flavors. Let it come to room temperature for about 30 minutes before shaping and baking.
- → What if I don't have a Dutch oven?
-
You can use a heavy pot with a tight-fitting lid, like a cast iron pot or even a stainless steel soup pot. Alternatively, bake on a baking stone and create steam by placing a tray of ice cubes on the bottom rack of the oven.