 Save
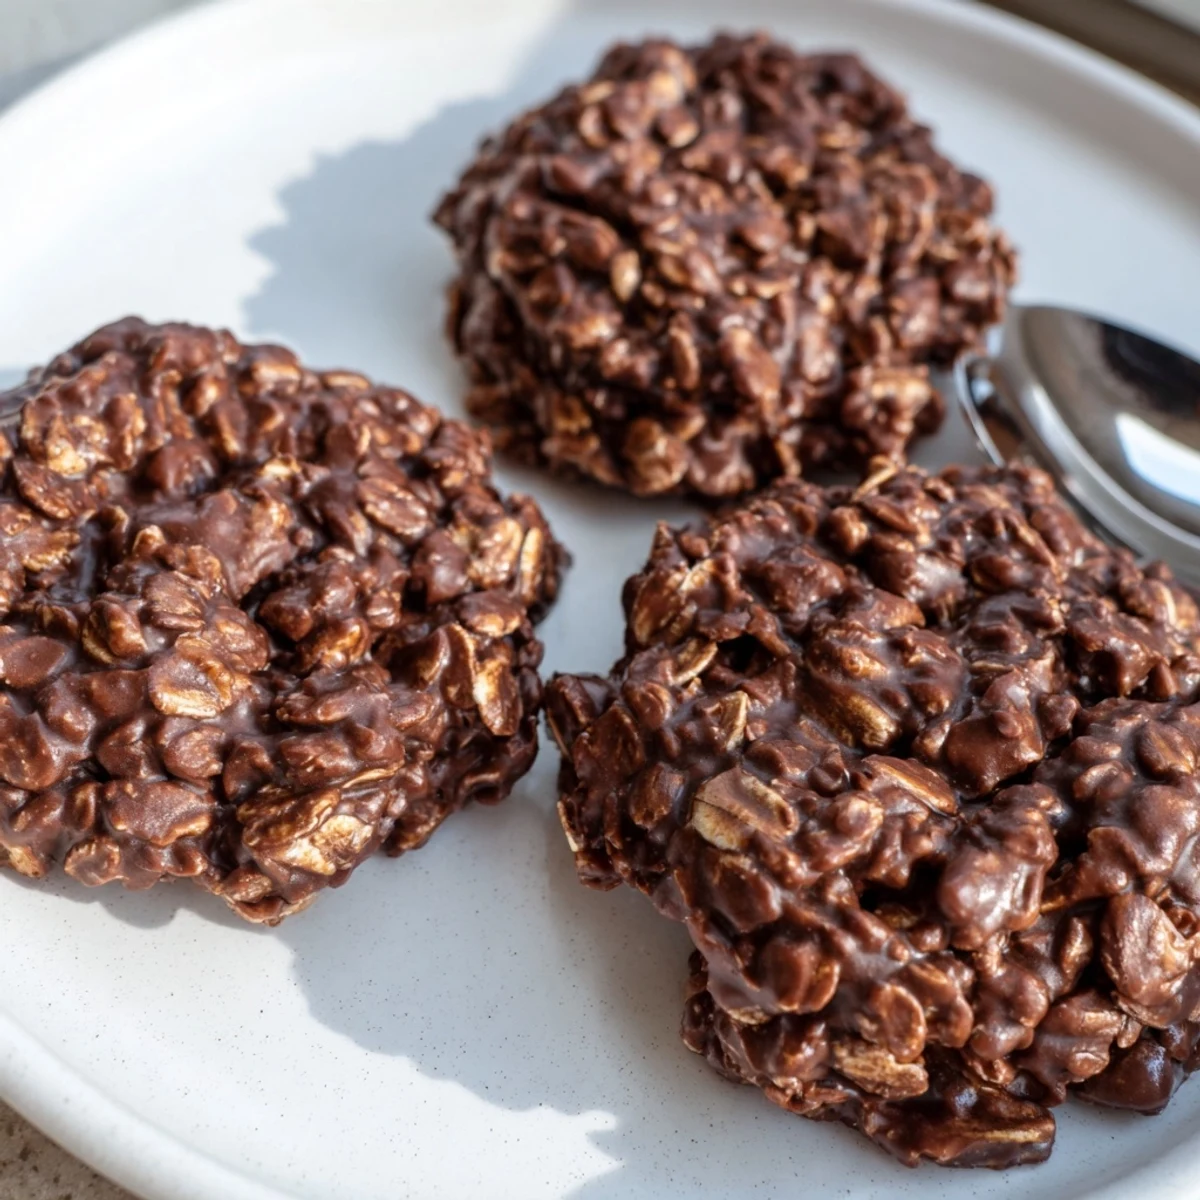
Save These no-bake chocolate oatmeal cookies are a timeless American treat that requires zero oven time. Simply boil together butter, sugar, milk, and cocoa, then stir in peanut butter, vanilla, and rolled oats before spooning onto parchment paper.
After just 20 minutes of cooling, you get chewy, fudgy cookies with a rich chocolate-peanut butter flavor and hearty oat texture. They're vegetarian-friendly, easily customizable with mix-ins like coconut or nuts, and stay fresh for up to five days stored airtight at room temperature.
The rain was hammering against the kitchen window and my youngest was standing on a step stool, chocolate smeared across one cheek, declaring that no bake cookies were the only cookies worth making. She had a point. Within twenty minutes we were both eating warm, gooey mounds of chocolate oatmeal off parchment paper, the oven completely untouched. There is something deeply satisfying about a cookie that asks nothing of you except a saucepan and five minutes of stirring. It has been our rainy day ritual ever since.
I once brought a plate of these to a neighborhood potluck and three people pulled me aside to ask for the recipe before the main dishes were even served. My neighbor Tom, who claims he does not have a sweet tooth, ate four of them standing right next to the buffet table. That is the quiet power of a no bake cookie. It sneaks up on people.
Ingredients
- Old-fashioned rolled oats (2 cups, 200g): These give the cookies their signature chewy, hearty texture. Quick oats will dissolve and leave you with something closer to fudge, which is not a disaster but not the goal here.
- Granulated sugar (1 cup, 200g): Essential for structure and that satisfying crackle on the surface as they set. Do not reduce it or the cookies may not hold together.
- Unsalted butter (1/2 cup, 115g): Adds richness and helps the sugar reach the right temperature for setting. Salted butter works too, just skip the extra pinch of salt.
- Whole milk (1/2 cup, 120ml): Creates the liquid base that lets everything come together into a smooth, pourable mixture before the oats go in.
- Unsweetened cocoa powder (1/4 cup, 25g): Use a good quality one if you can. The chocolate flavor here is bold and front and center, so the cocoa does all the heavy lifting.
- Creamy peanut butter (1/2 cup, 130g): Melts into the hot mixture like a dream and adds that savory depth that makes these impossible to stop eating.
- Vanilla extract (1 teaspoon): Stirred in off the heat so the flavor stays bright and fragrant rather than cooking off.
- Salt (1/4 teaspoon): Just enough to make the chocolate taste more like itself.
Instructions
- Prep your station:
- Line a baking sheet with parchment paper and measure out all your ingredients before you turn on the stove. Things move fast once the mixture starts boiling and you do not want to be hunting for the vanilla while sugar is scorching.
- Build the base:
- In a medium saucepan over medium heat, combine the sugar, butter, milk, cocoa powder, and salt. Stir constantly with a wooden spoon and watch the butter melt into the cocoa until everything is one dark, glossy pool.
- Boil with purpose:
- Let the mixture come to a full rolling boil, one where the bubbles do not stop when you stir. Set a timer for exactly one minute and keep stirring steadily the entire time. Remove from heat the second that minute is up.
- Add the good stuff:
- Stir in the peanut butter and vanilla extract immediately, stirring until the peanut butter melts completely and the mixture looks silky and uniform.
- Fold in the oats:
- Gently but thoroughly fold in the oats, making sure every flake is coated in that beautiful chocolate mixture. Take your time here because dry pockets of oats are a disappointment in the final cookie.
- Shape the cookies:
- Drop spoonfuls onto your prepared baking sheet, using about two tablespoons per cookie. You can shape them into neat rounds or leave them rustic and freeform, which honestly looks more charming.
- Let them set:
- Leave the cookies at room temperature for about twenty minutes until they firm up and hold their shape. If you are impatient like my daughter, the refrigerator speeds this up beautifully.
 Save
Save One Christmas I wrapped these in little cellophane bags tied with red twine and tucked them into neighbor gift baskets alongside jars of jam. They were the first thing gone from every single basket. People are drawn to the honesty of a no bake cookie, the way it looks homemade and unpretentious and entirely delicious.
Variations Worth Trying
If peanut butter is not your thing, sunflower seed butter works beautifully and keeps the cookies nut free for school lunches. I have also stirred in half a cup of shredded coconut on a whim and ended up with something that tasted like a candy bar crossed with a macaroon. Chopped walnuts or pecans add a welcome crunch if you want a bit more texture in each bite.
Storage That Actually Works
These cookies stay wonderfully chewy for up to five days in an airtight container at room temperature. In summer or if your kitchen runs warm, the refrigerator is safer because the butter can soften and make them sticky. You can also freeze them flat in a single layer, then transfer to a freezer bag for up to three months. Thaw them at room temperature for about fifteen minutes and they taste freshly made.
A Few Last Thoughts
No bake cookies are forgiving by nature, which makes them the perfect recipe to make with kids or when you are short on time but still want something homemade. Trust the process and the timer and you will be rewarded every single batch.
- Use a cookie scoop for uniform portions that set evenly.
- If your cookies spread too thin, try a slightly shorter boil time next batch.
- Always taste a bit of the warm mixture off the spoon before portioning, it is one of life's small privileges.
 Save
Save Some recipes earn their place in your kitchen through complexity and technique. These cookies earn it by being the ones you can make right now with what is already in your pantry.
Recipe FAQs
- → Why do my no bake cookies turn out gooey and not set?
-
The most common reason is not boiling the sugar mixture long enough. You need a full rolling boil for exactly one minute. If you live at high altitude, you may need to add 15–30 seconds to the boil time. Also ensure you measure the oats precisely—too few oats means the cookies won't firm up properly.
- → Can I use quick oats instead of old-fashioned rolled oats?
-
Quick oats will work but produce a softer, less chewy texture. Old-fashioned rolled oats give the cookies their signature hearty bite. If you only have quick oats, reduce the quantity by about a quarter cup to maintain the right consistency.
- → How should I store chocolate oatmeal no bake cookies?
-
Store them in an airtight container at room temperature for up to five days. You can also refrigerate them for up to two weeks, though the texture will become firmer. For longer storage, freeze the cookies in a sealed bag for up to three months and thaw at room temperature before serving.
- → Can I make these without peanut butter?
-
Yes, you can substitute sunflower seed butter for a nut-free version. Almond butter or cashew butter also work beautifully. If you skip the nut butter entirely, add an extra tablespoon of butter to help bind the cookies together and maintain a rich consistency.
- → What type of cocoa powder works best for these cookies?
-
Unsweetened cocoa powder is ideal because the sugar in the mixture provides all the sweetness needed. Natural cocoa powder gives a classic chocolate flavor, while Dutch-processed cocoa yields a smoother, deeper taste. Avoid sweetened cocoa mixes, as they will throw off the sugar balance and setting ability.
- → Can I double this batch for a crowd?
-
Absolutely. Double all ingredients and use a large saucepan to prevent boiling over. The boil time remains the same—one full minute of rolling boil. Work quickly when folding in the oats, as a larger batch starts to set faster once off the heat.